Bathroom mirror ideas are one of those things homeowners leave until the last minute. We see it constantly. Someone spends weeks picking out tile and a vanity, then grabs whatever mirror is on sale at the big box store. That is a missed opportunity. The mirror is the first thing you look at when you walk in. It sets the tone for the whole room.
At CMK Construction, we have completed over 7,000 bathroom remodels across Tampa, St. Petersburg, Clearwater, and the surrounding communities. We know what works in Florida bathrooms. We know what fails. Humidity destroys cheap mirrors within a few years. Bad lighting makes even a beautiful vanity look dull. The six bathroom mirror ideas below come directly from projects we finished in the last several months. These are not stock photos from a catalog. These are real installations in real homes.
1. Hardwired LED Mirrors
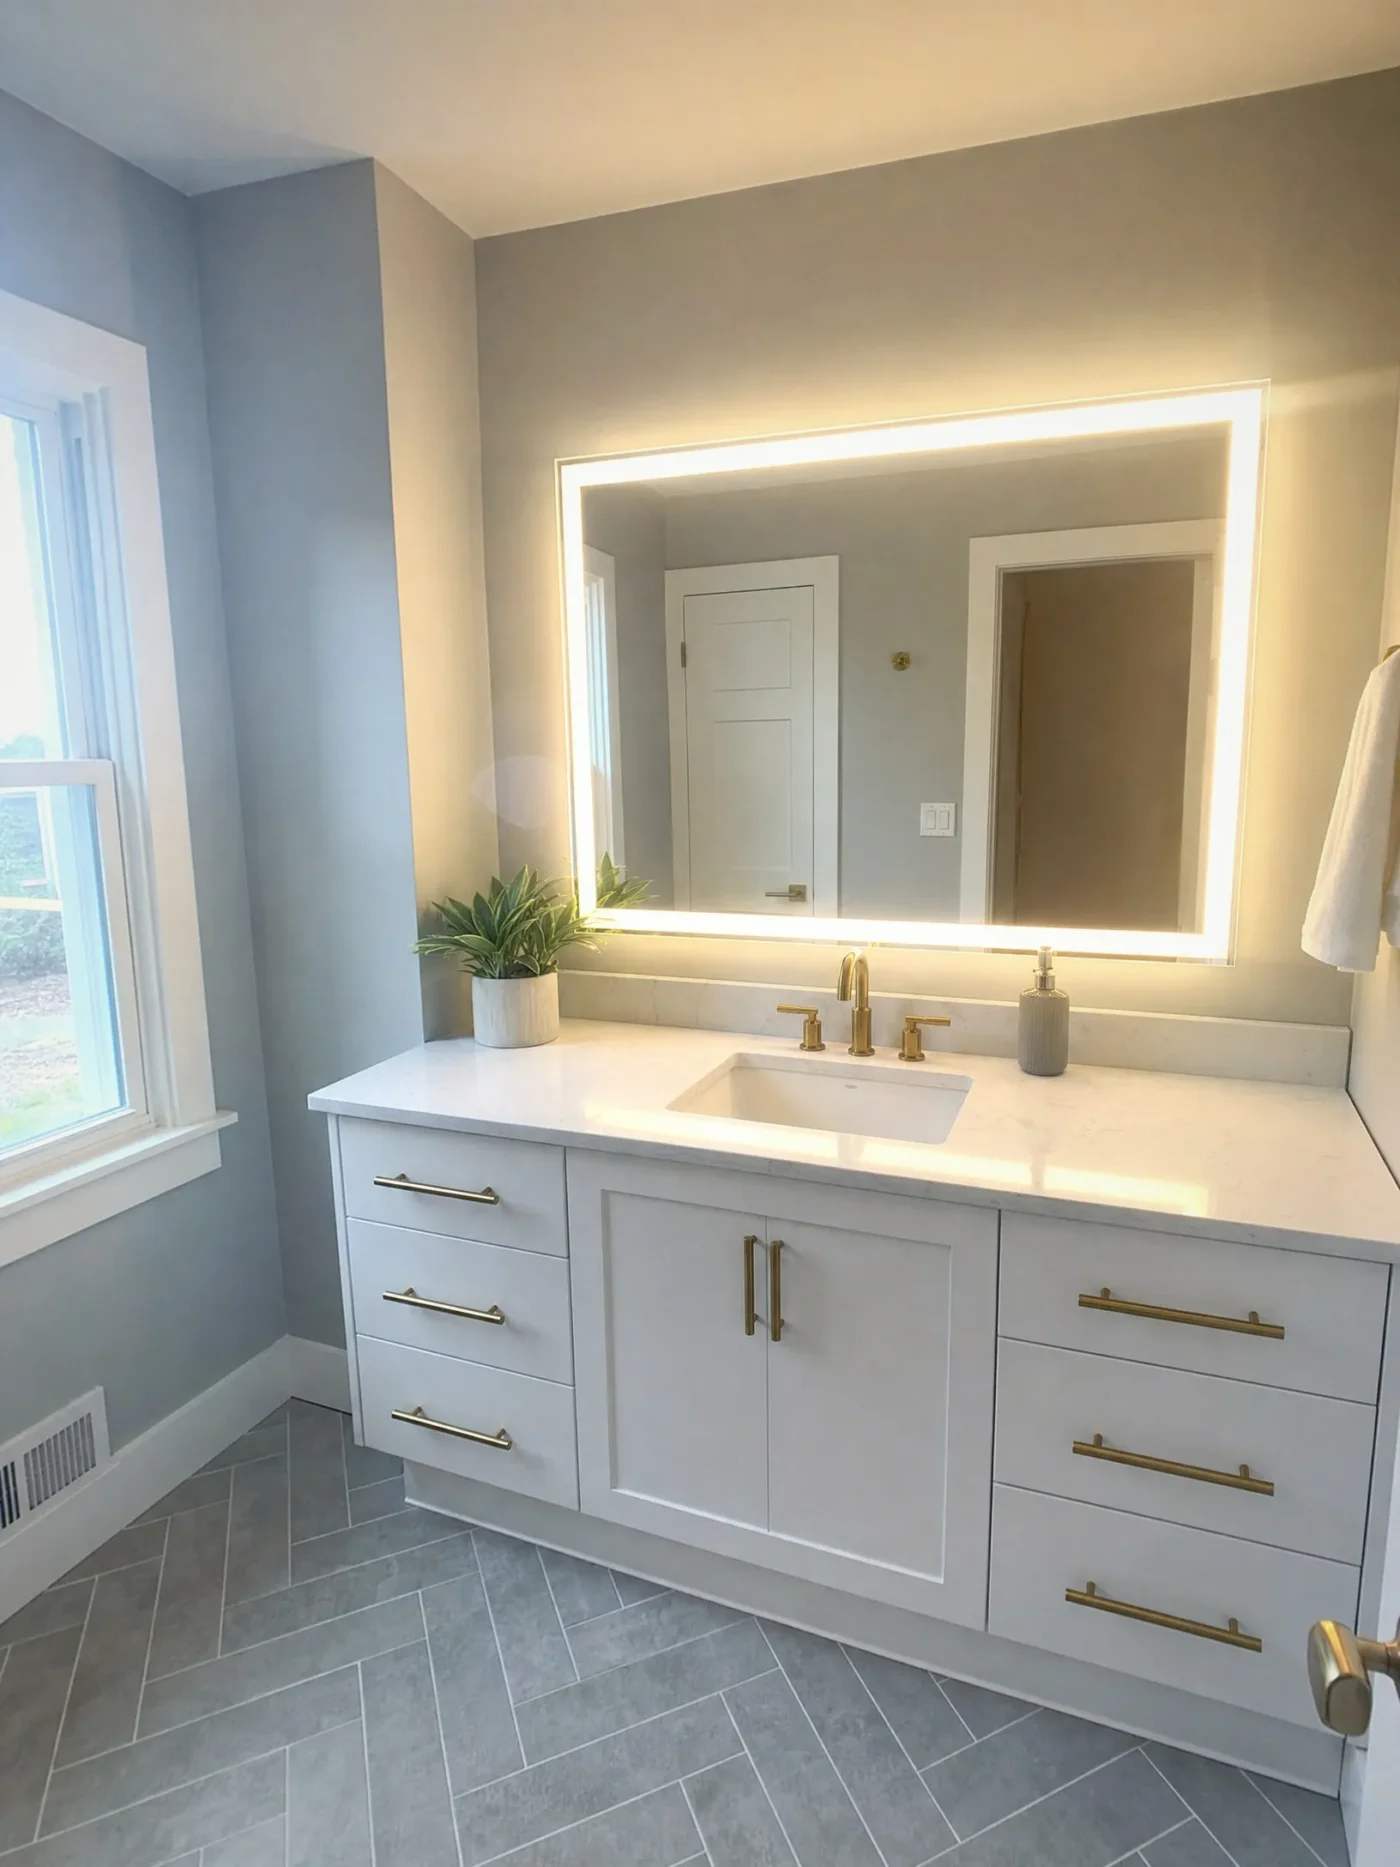
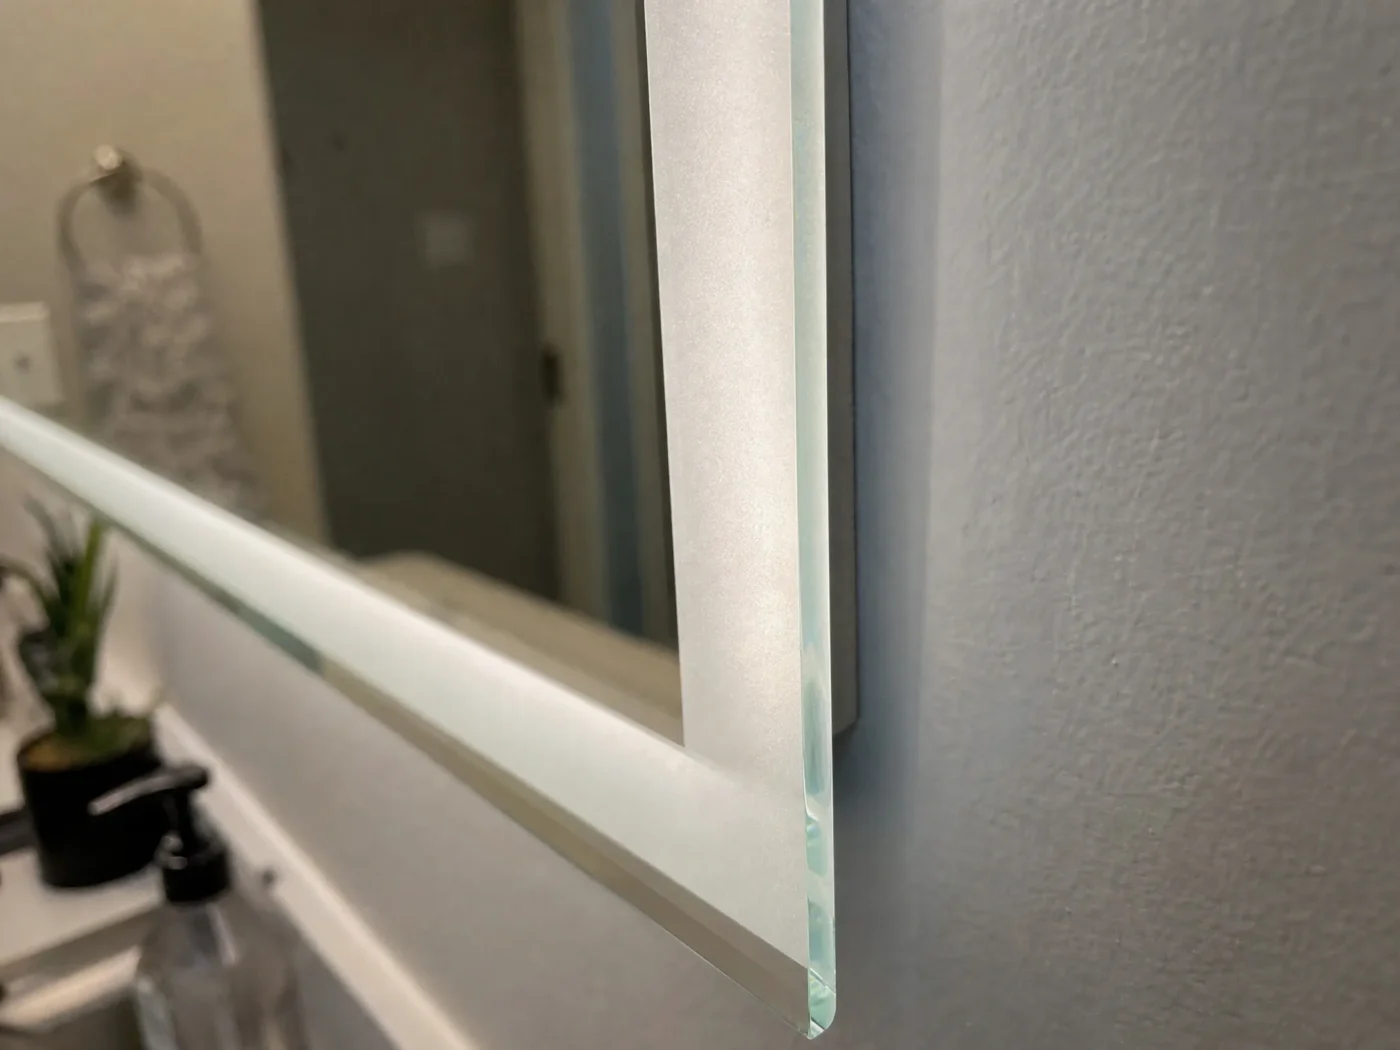
This is our most popular upgrade right now. A hardwired LED mirror bathroom gives you built in task lighting exactly where you need it. The light shines forward onto your face. No more shadows under your eyes from overhead can lights. No more squinting to put on makeup.
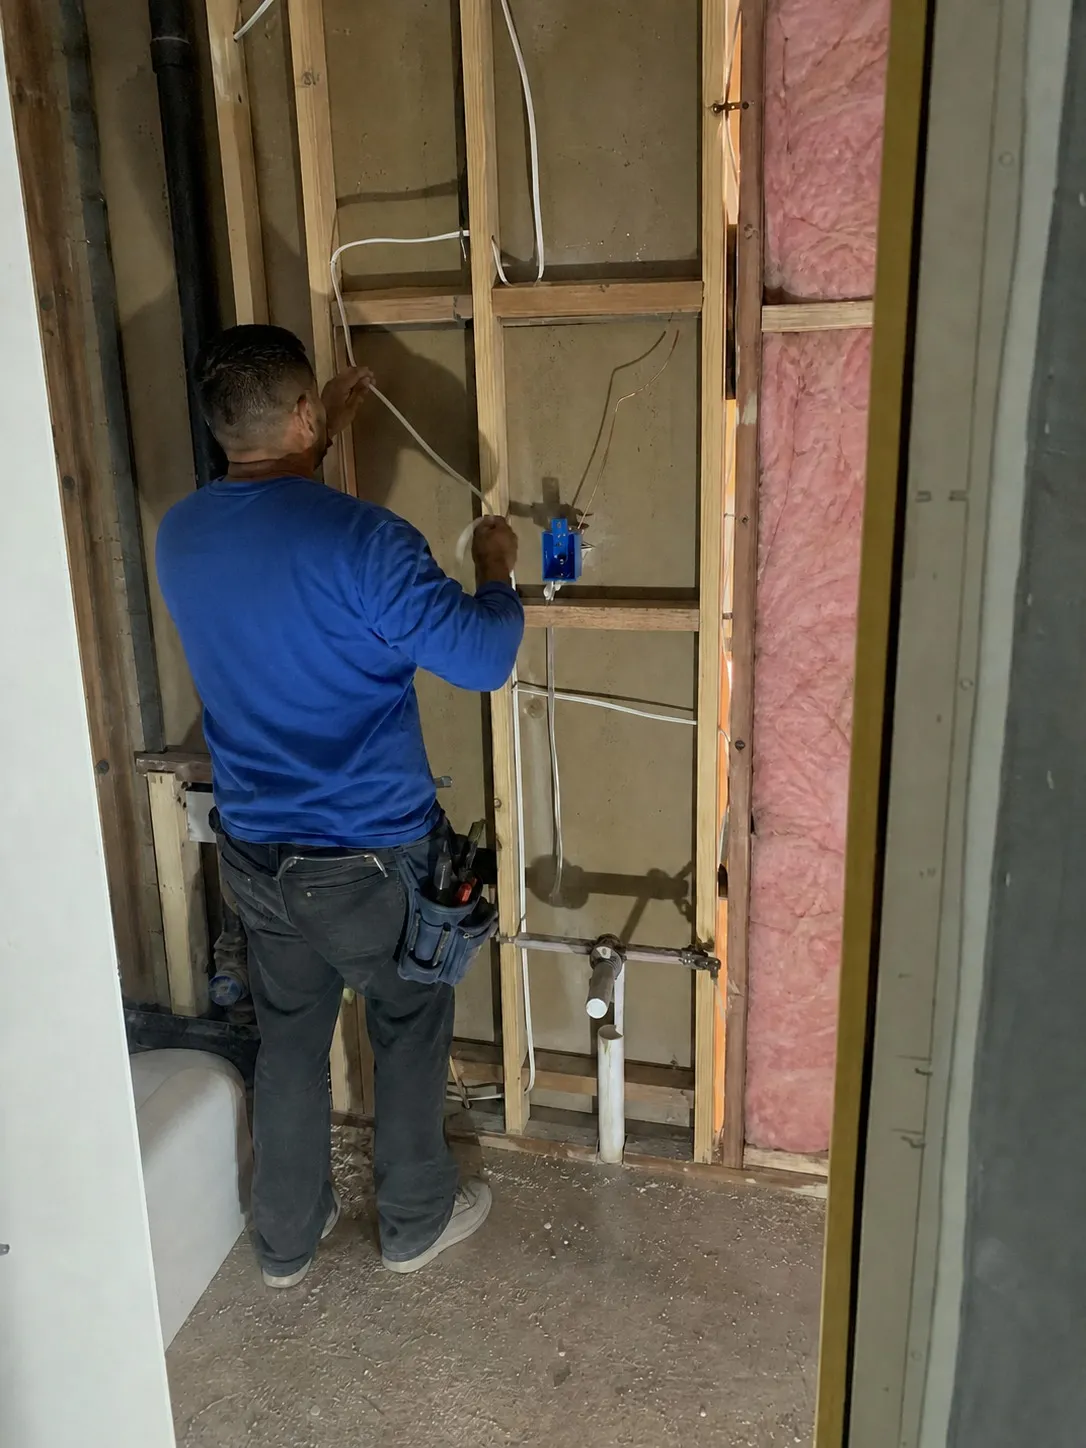
We wire these during the rough in phase. Our electricians pull a dedicated line and install a recessed junction box behind where the mirror will hang. The mirror sits flat against the wall. No visible cords. No plug hanging out of the bottom. We also tie the LED mirror into a wall switch so you do not have to fumble with a tiny touch button on the glass every morning.
One thing most people do not think about is color temperature. We recommend mirrors in the 3000K to 4000K range. That gives you a neutral, daylight quality glow that shows colors accurately. Go below 3000K and everything looks yellow. Go above 5000K and it feels like a hospital. For bathrooms with no windows, getting this right is critical because artificial light is doing all the work.
In a recent Tampa Palms primary bath, we installed a 48 inch LED mirror above a white shaker vanity with brushed gold hardware. The mirror eliminated the need for a separate vanity light bar entirely. Clean look. Fewer holes in the wall. Better light on the face.
2. Backlit Mirrors for a Floating Effect
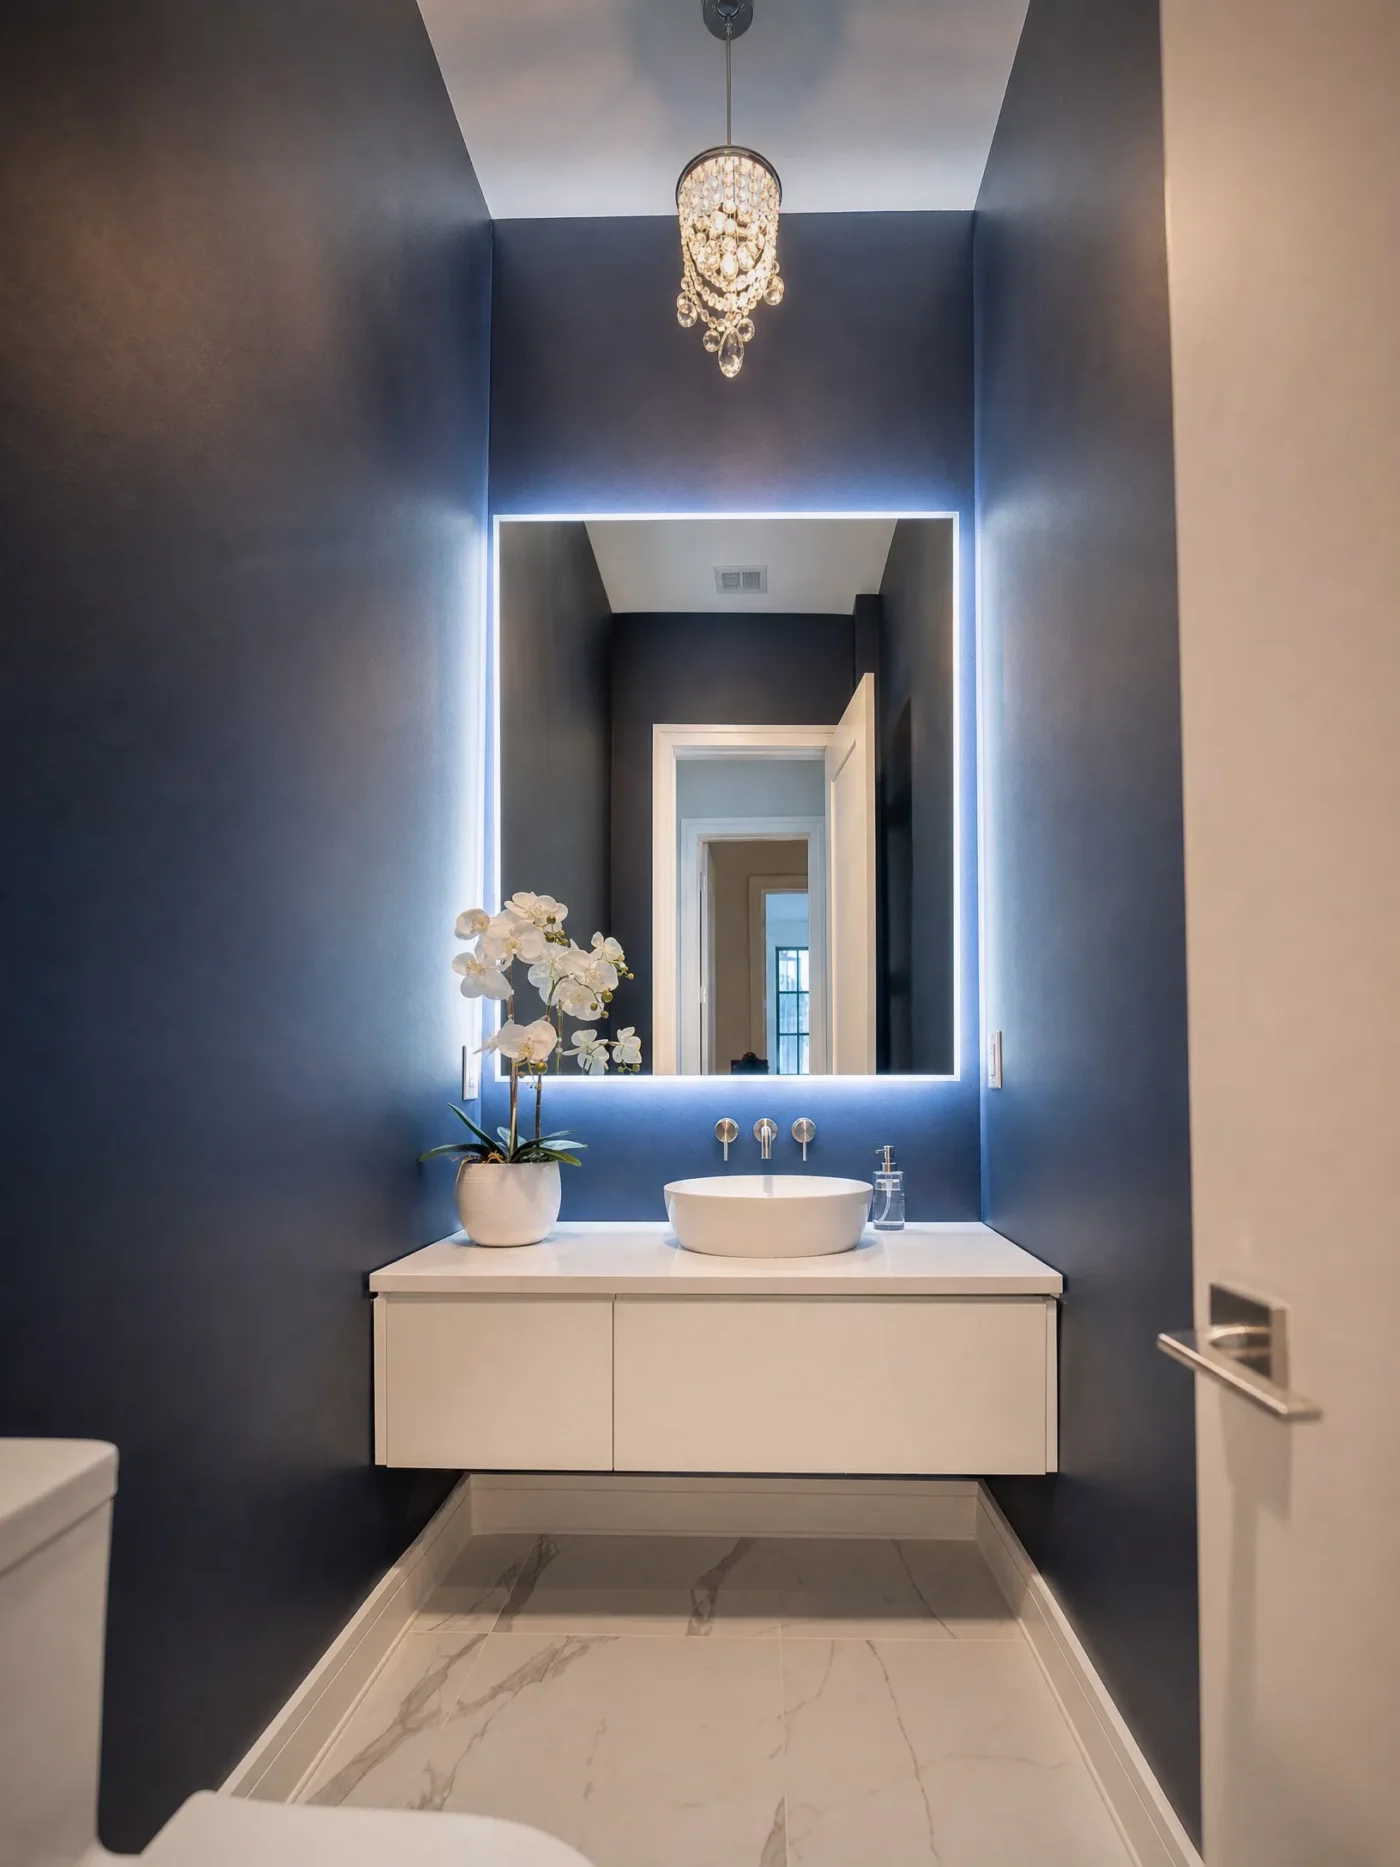
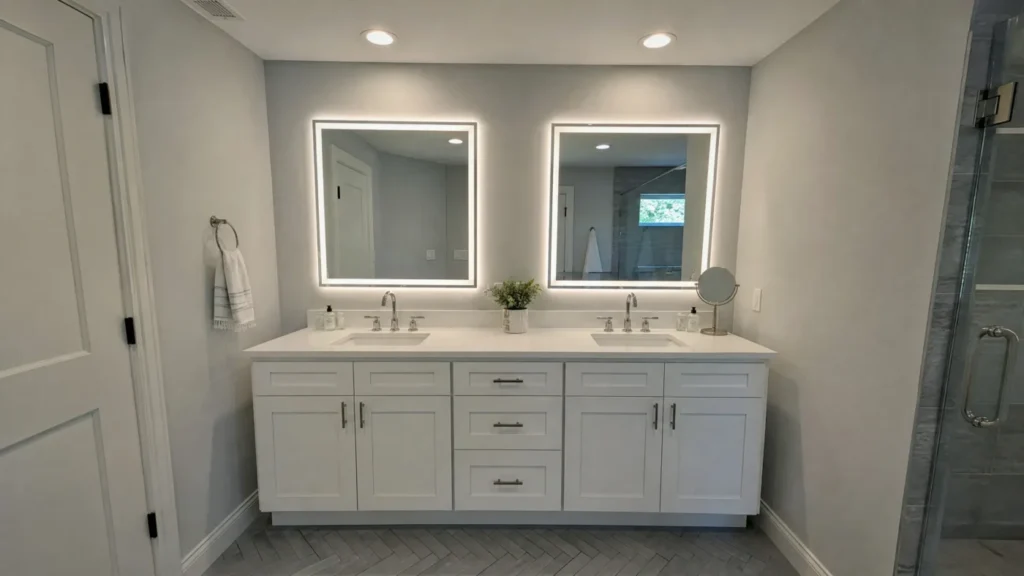
Backlit mirror ideas are all about ambiance. Instead of shining light forward like an LED mirror, a backlit mirror pushes light against the wall behind it. You get this soft halo glow around the edges. The mirror looks like it is floating off the wall.
We use these a lot in powder rooms. Powder rooms are small. They do not need intense task lighting. What they need is atmosphere. A backlit mirror on a dark navy or charcoal wall creates a dramatic focal point without any other decor. Add a floating vanity underneath and the whole space feels like a boutique hotel.
One thing to keep in mind. The wall behind the mirror has to be perfect. The halo light exposes every imperfection. If the drywall finish is sloppy or the paint has roller marks, you will see it. We always skim coat and sand the vanity wall to a level 5 finish before installing a backlit mirror. It takes extra time but the result is worth it.
In a Clearwater project last month, we paired a rectangular backlit mirror with a Cambria quartz countertop on a navy vanity. The glow from behind the mirror picked up the subtle veining in the quartz. Our client said it was the single detail that made the room feel finished.
3. Frameless Mirrors to Open Up Small Spaces
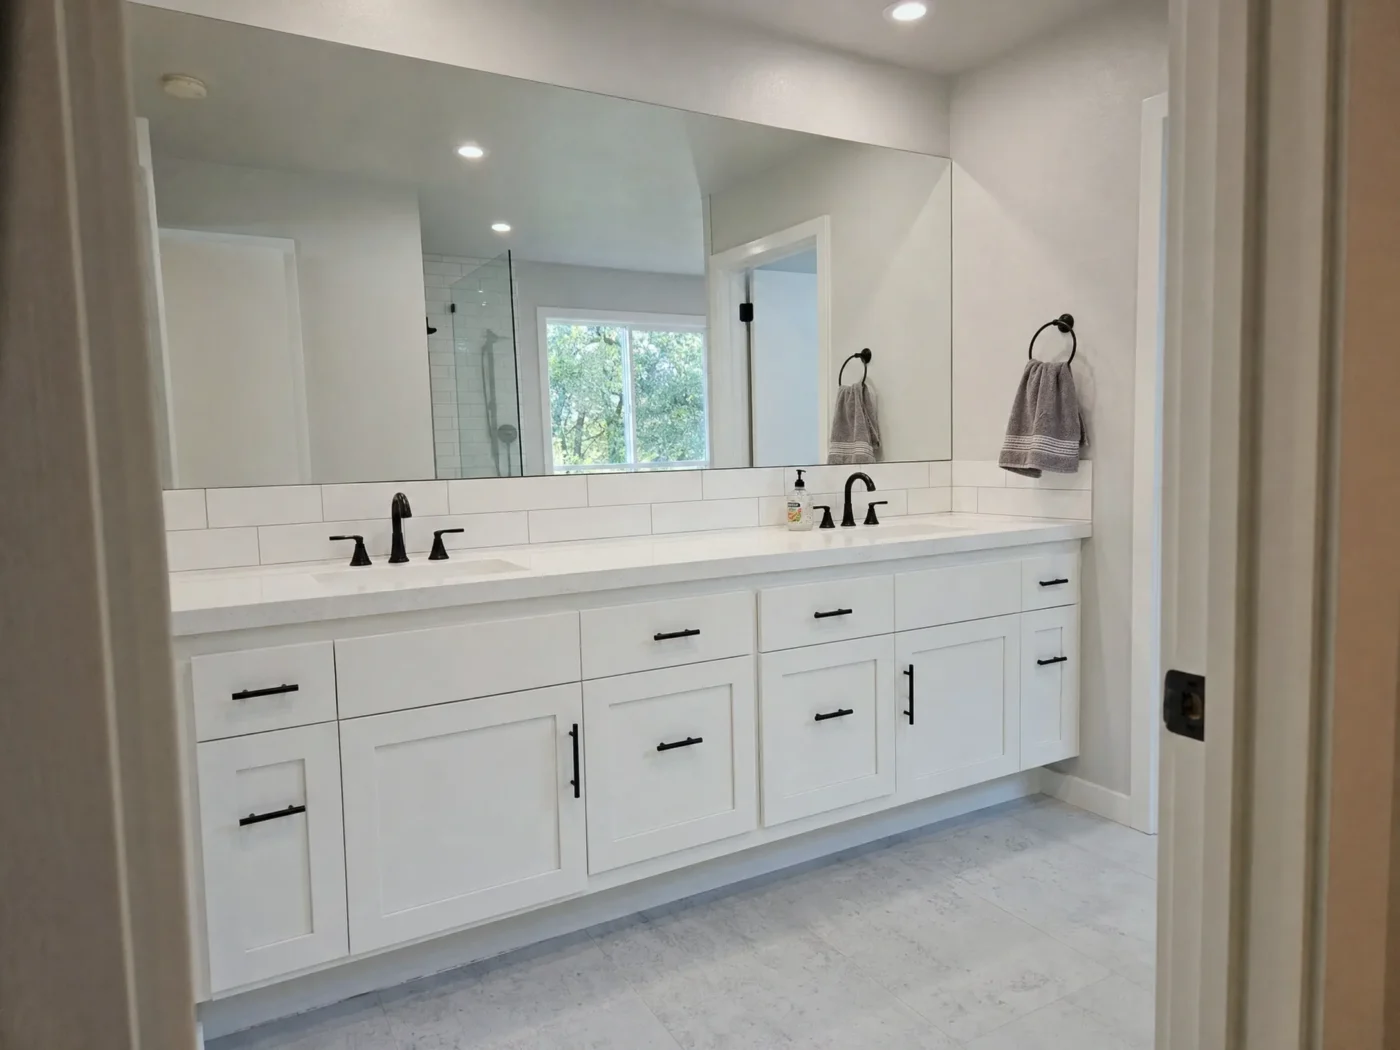
Sometimes the best frame is no frame. A frameless mirror blends into the wall. There is no visual boundary telling your eye where the mirror stops. This makes tight bathrooms feel significantly bigger because the reflection extends the perceived depth of the room.
We install a lot of frameless mirrors in St. Petersburg condos. Square footage is limited. Every trick that makes the space feel larger matters. Running a frameless mirror wall to wall above the vanity maximizes the reflective surface and bounces whatever natural light comes through the window deep into the room.
Quality matters here more than you might think. We specify mirrors with polished edges to prevent chipping. In Florida, you also need sealed edges and proper safety backing. Without edge sealant, humidity creeps behind the glass and attacks the silver coating. Within two or three years you start seeing black spots around the perimeter. That is called desilvering. It is ugly and irreversible. A properly sealed frameless mirror avoids this entirely.
When we install these, we use mirror mastic rather than standard construction adhesive. Regular adhesive contains chemicals that eat through the reflective backing over time. Mirror mastic is formulated specifically for this application. Small detail. Big difference in longevity.
4. Round and Arched Mirrors
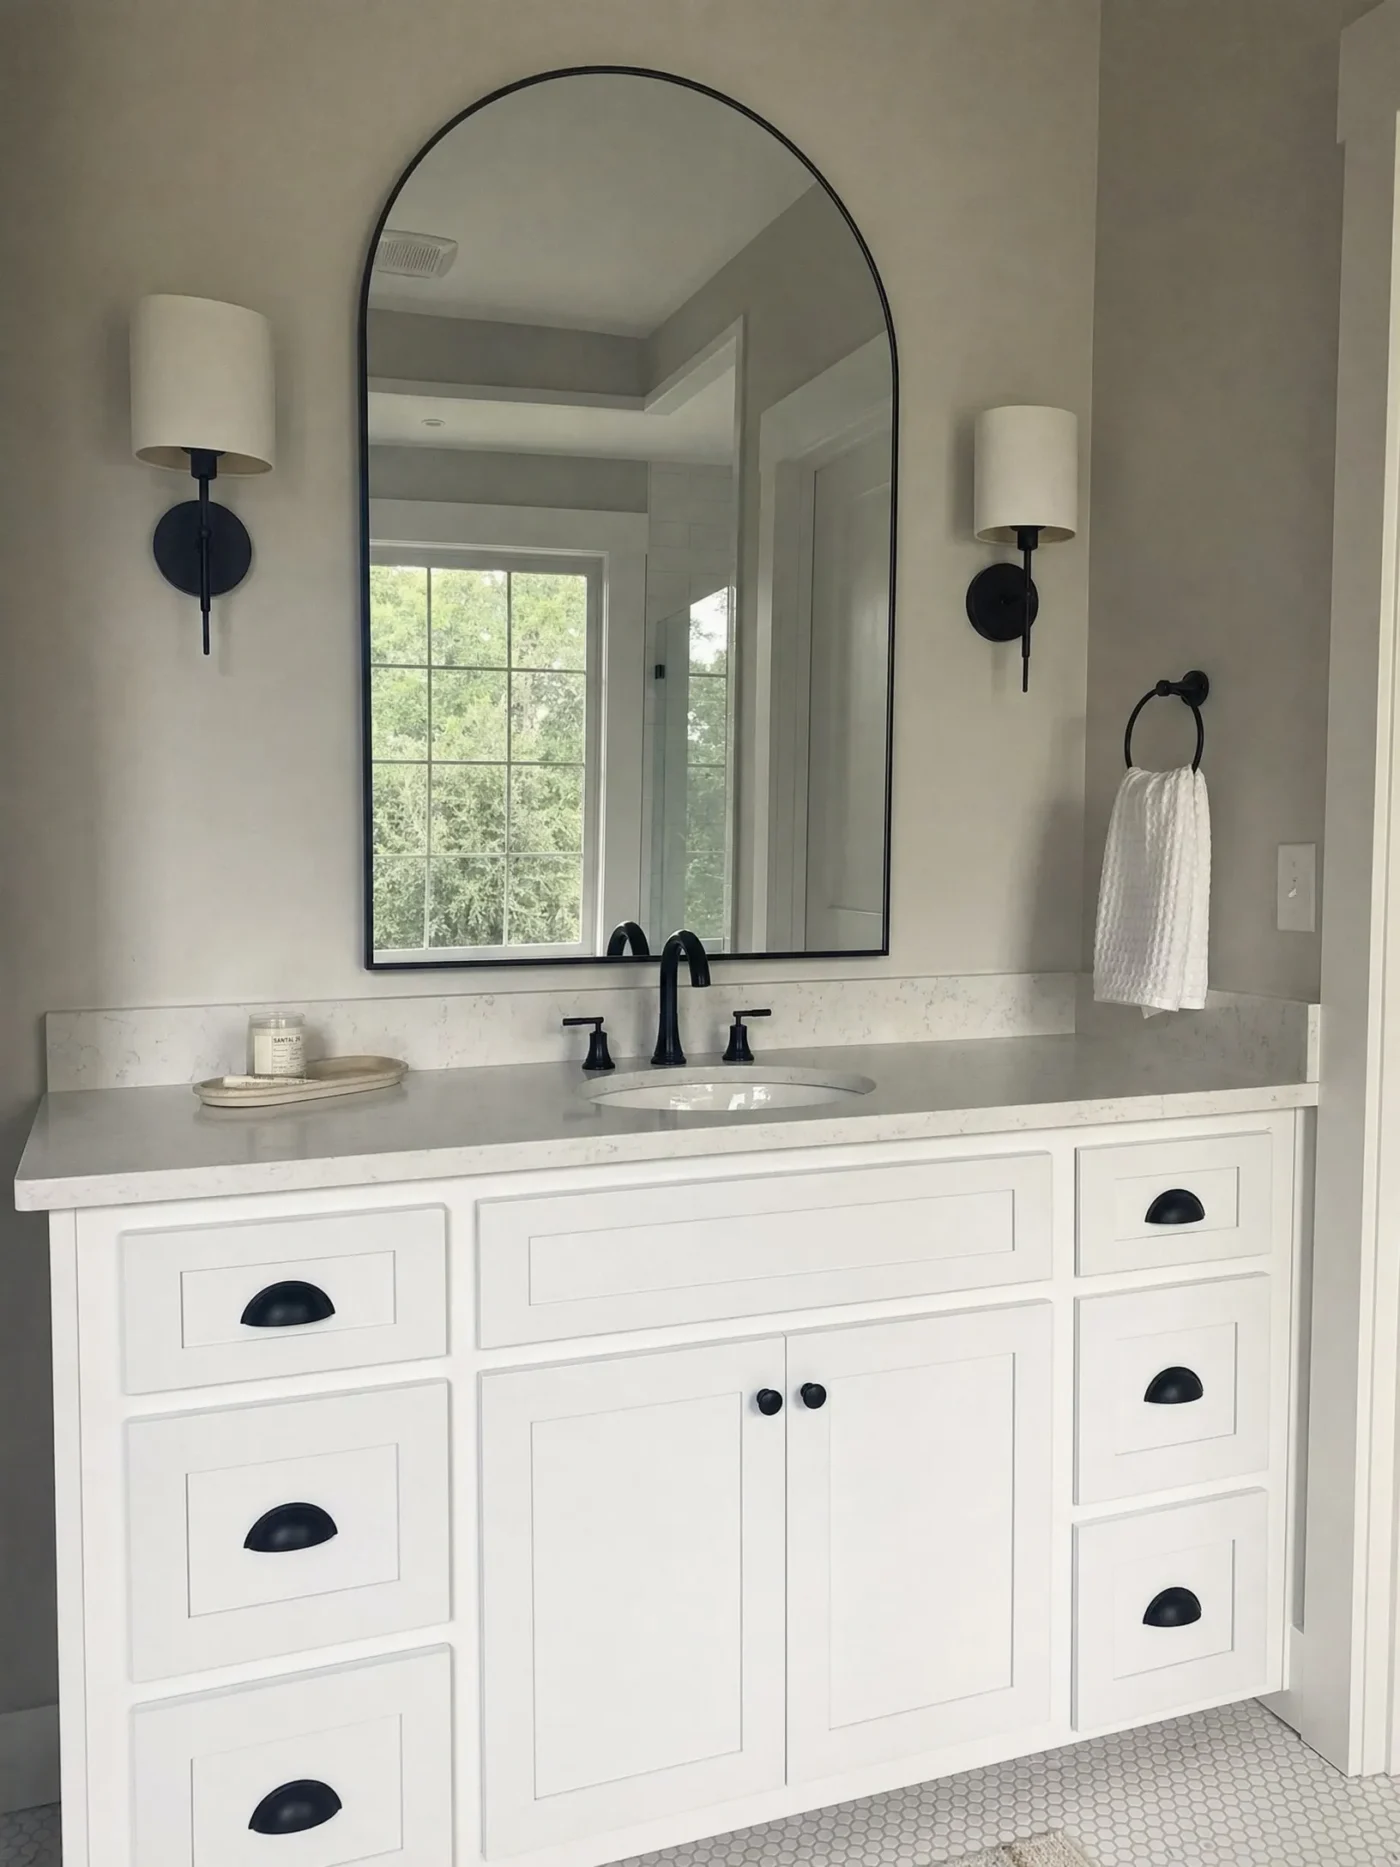
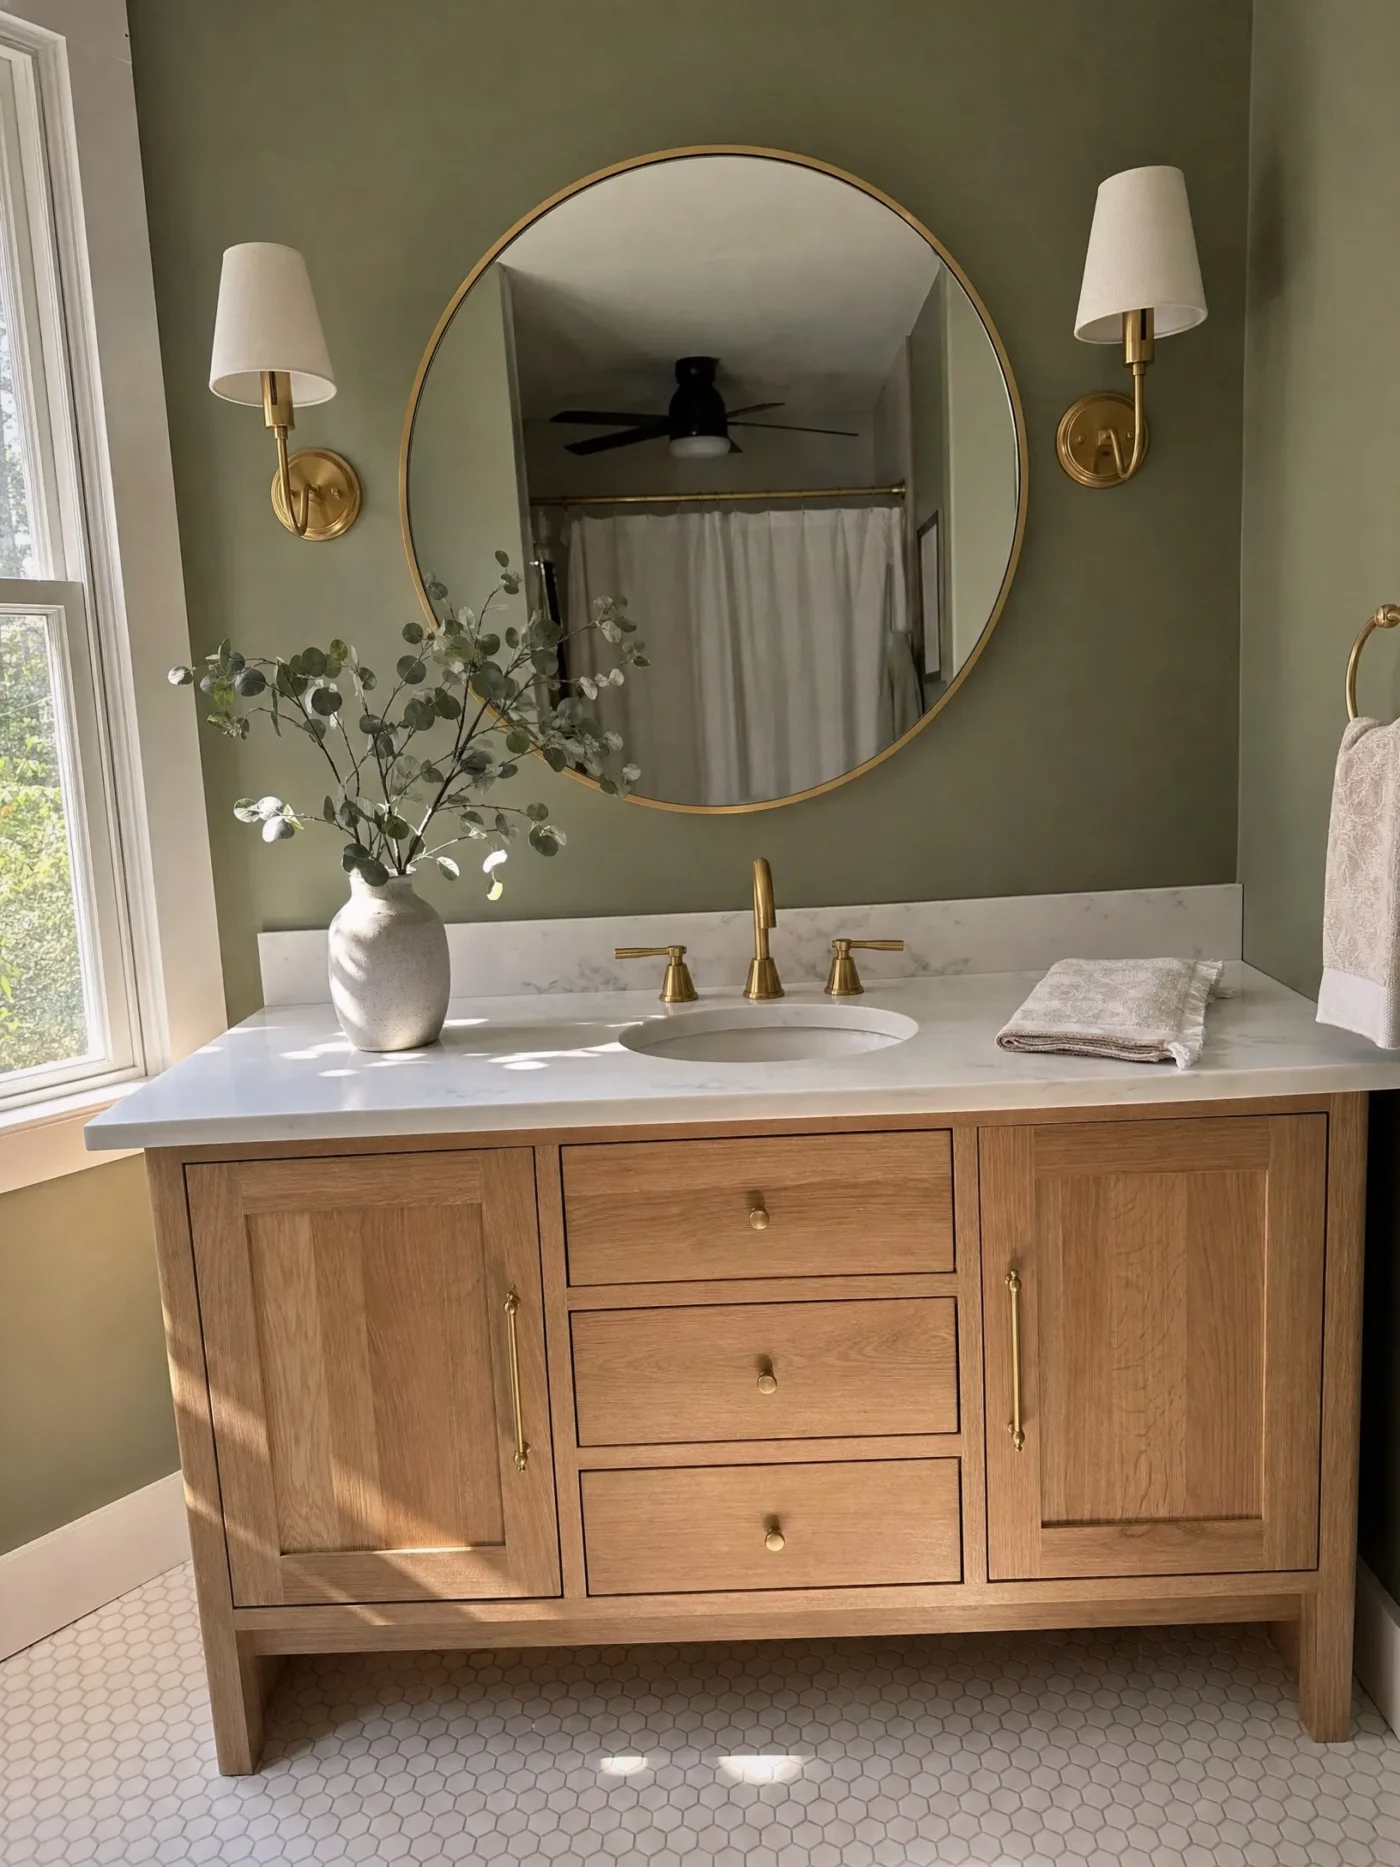
Bathrooms are full of hard angles. Square tiles. Rectangular vanities. Straight shower glass. Introducing a round or arched mirror breaks up all those rigid lines and adds a softer, more organic quality to the space.
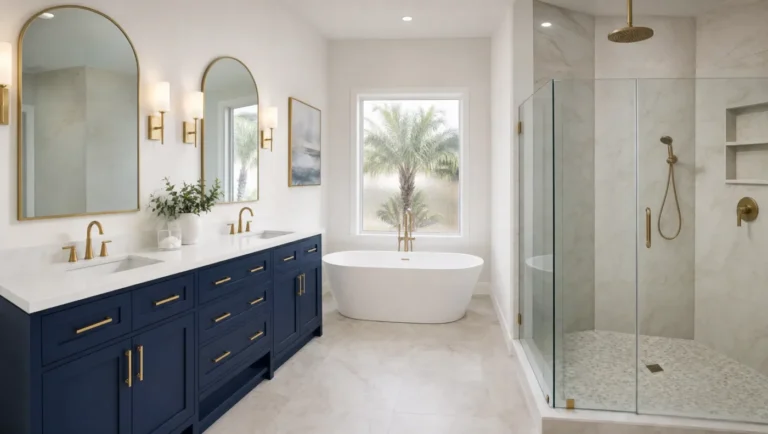
Arched mirrors are having a moment right now. The curved top draws your eye upward and makes the ceiling feel taller. We frequently install them with thin metal frames in matte black or brushed brass. They pair well with shaker vanities and transitional designs.
Round mirrors work best over single vanities. If you have a 36 inch or 42 inch cabinet, a large round mirror centered above the sink looks intentional. It looks designed. When we use round or arched mirrors, we almost always add wall sconces on either side. The cross illumination from flanking sconces is the most flattering light you can get for grooming. It eliminates shadows on both sides of your face simultaneously.
In a South Tampa remodel, we paired two brass framed oval mirrors with a custom white oak vanity. The curved mirrors echoed the arched doorway of the shower enclosure. The brass frames matched the Delta widespread faucets. Everything connected. That is what good design looks like.
5. Anti Fog Smart Mirrors
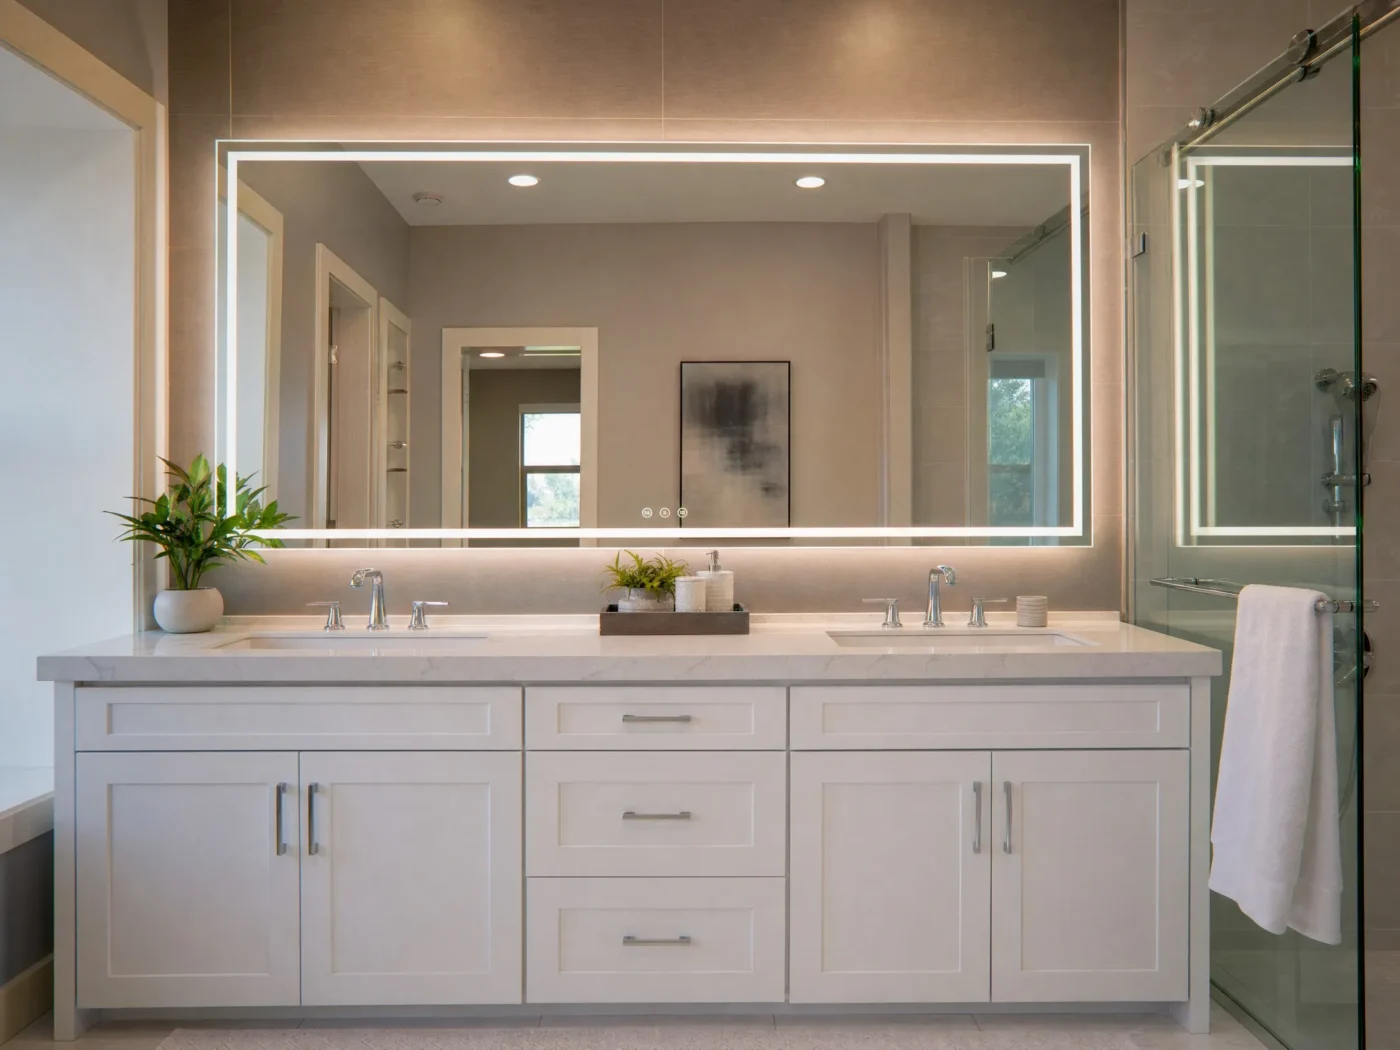
Florida humidity is brutal on bathroom mirrors. You take a hot shower. You step out. The mirror is completely fogged. You wipe it with a towel and leave streaks everywhere. Anti fog mirrors fix this problem entirely.
These mirrors have a thin heating pad bonded to the back of the glass. When you turn it on, it gently warms the surface. Condensation cannot form on warm glass. You step out of the shower and the mirror is perfectly clear. It sounds like a small thing until you experience it every single morning. Then you wonder how you ever lived without it.
The heating element draws about 20 to 40 watts. That is nothing on your electric bill. But it requires a hardwired connection, same as an LED mirror. Many of the anti fog mirrors we install also include color temperature controls. You can switch between warm light for a relaxing evening bath and cool daylight for checking your appearance before heading out the door.
In our Wesley Chapel and Westchase projects, anti fog mirrors have become one of the most frequently requested upgrades. Once homeowners see it in our showroom, they want it in their bathroom.
Ready to get a real number for your project? During your design consultation we will recommend the ideal mirror size, lighting, electrical layout, and placement before construction begins, so everything is planned correctly from the start. Call (813) 379-2116 or request a consultation.
6. Mirror and Storage Tower Combinations
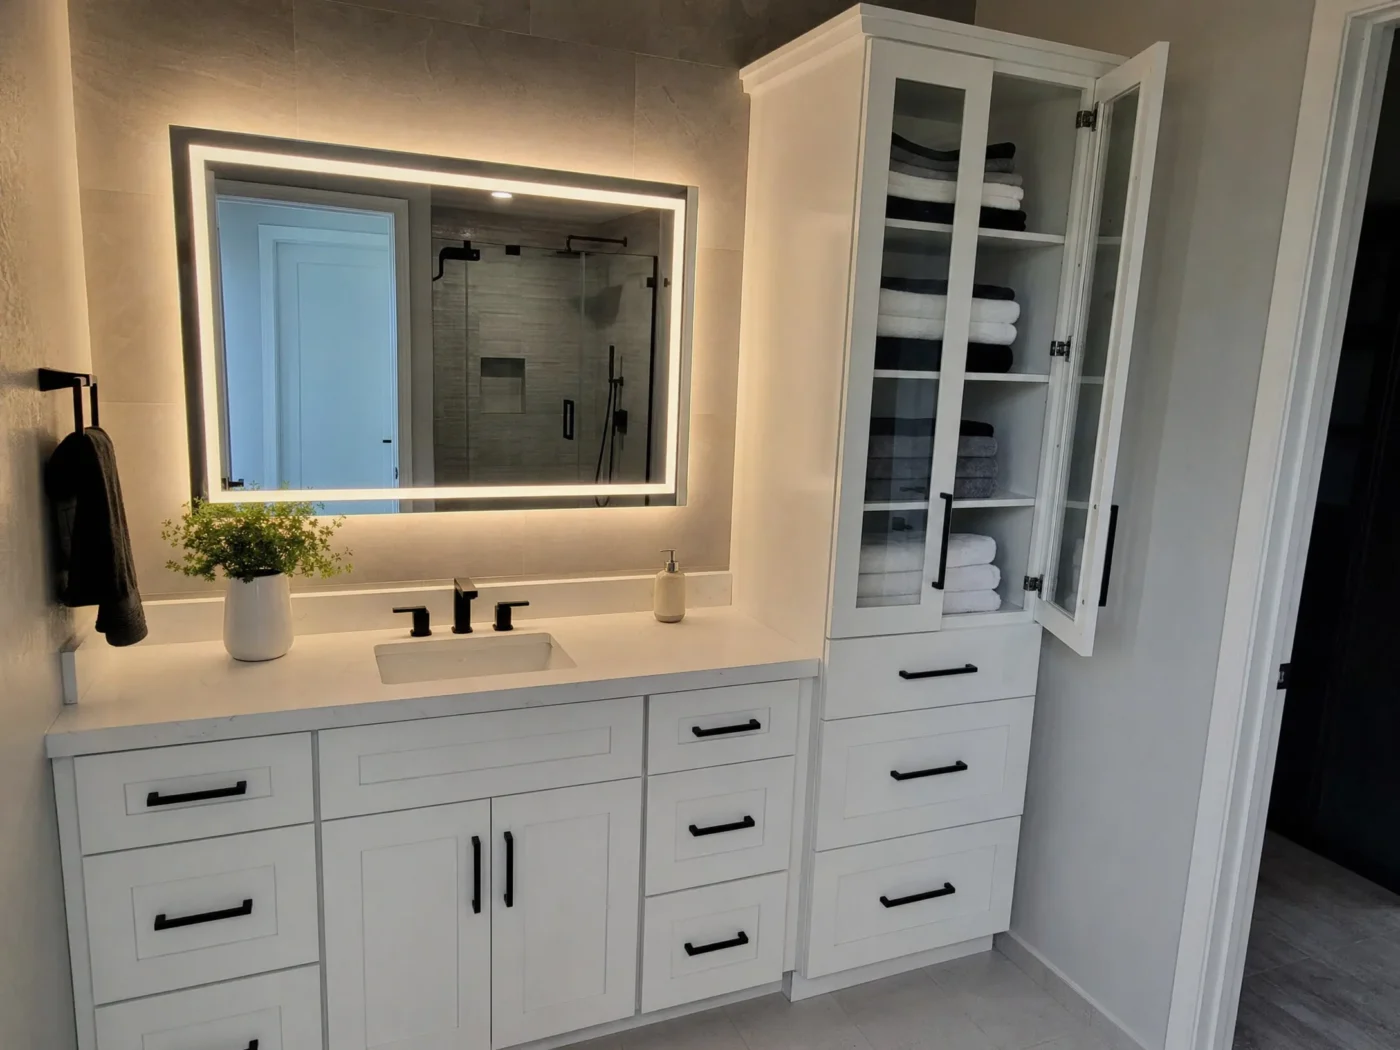
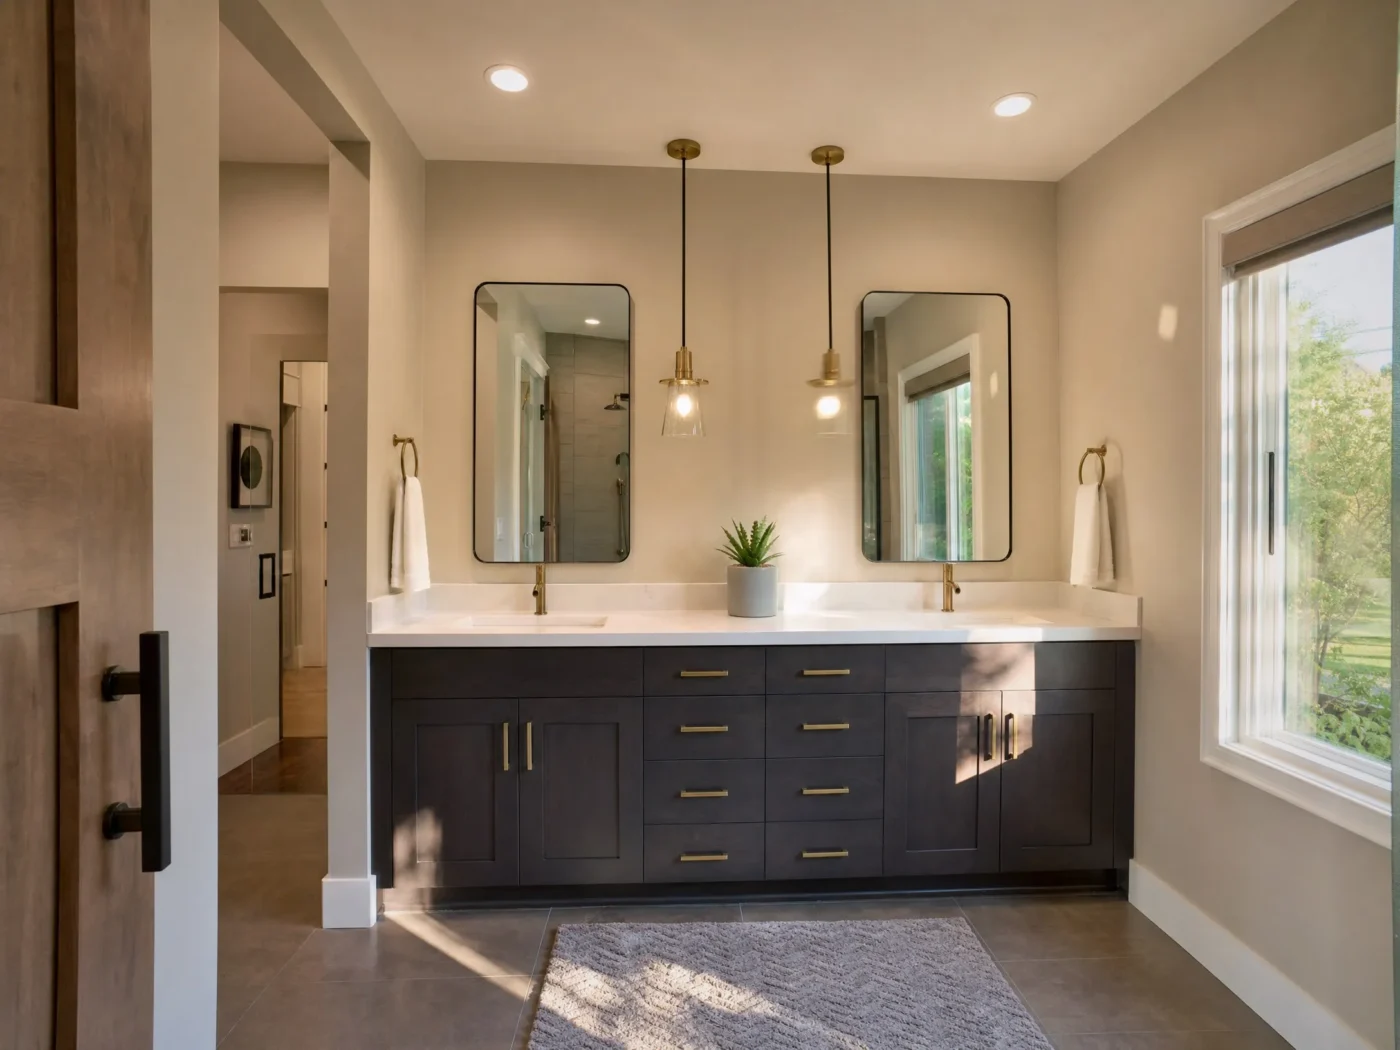
Storage is always tight in a bathroom. Counter space disappears fast. One of our favorite bathroom mirror ideas for double vanities is flanking a counter to ceiling storage tower with two vertical mirrors. This reclaims the dead space between the sinks and turns it into a functional linen closet without eating any floor area.
The storage tower provides deep shelving for towels, toiletries, and daily essentials. The two mirrors on either side keep the vanity area feeling open and bright. It also creates a natural separation between his and hers sides. Each person gets their own mirror and their own grooming zone.
In a recent Wesley Chapel project, we installed a Fabuwood cabinetry tower in the Onyx line flanked by two LED backlit mirrors. The homeowner gained about 12 cubic feet of storage that did not exist before. And the room still felt spacious because the mirrors reflected light across the full width of the vanity wall.
Comparing Mirror Types at a Glance
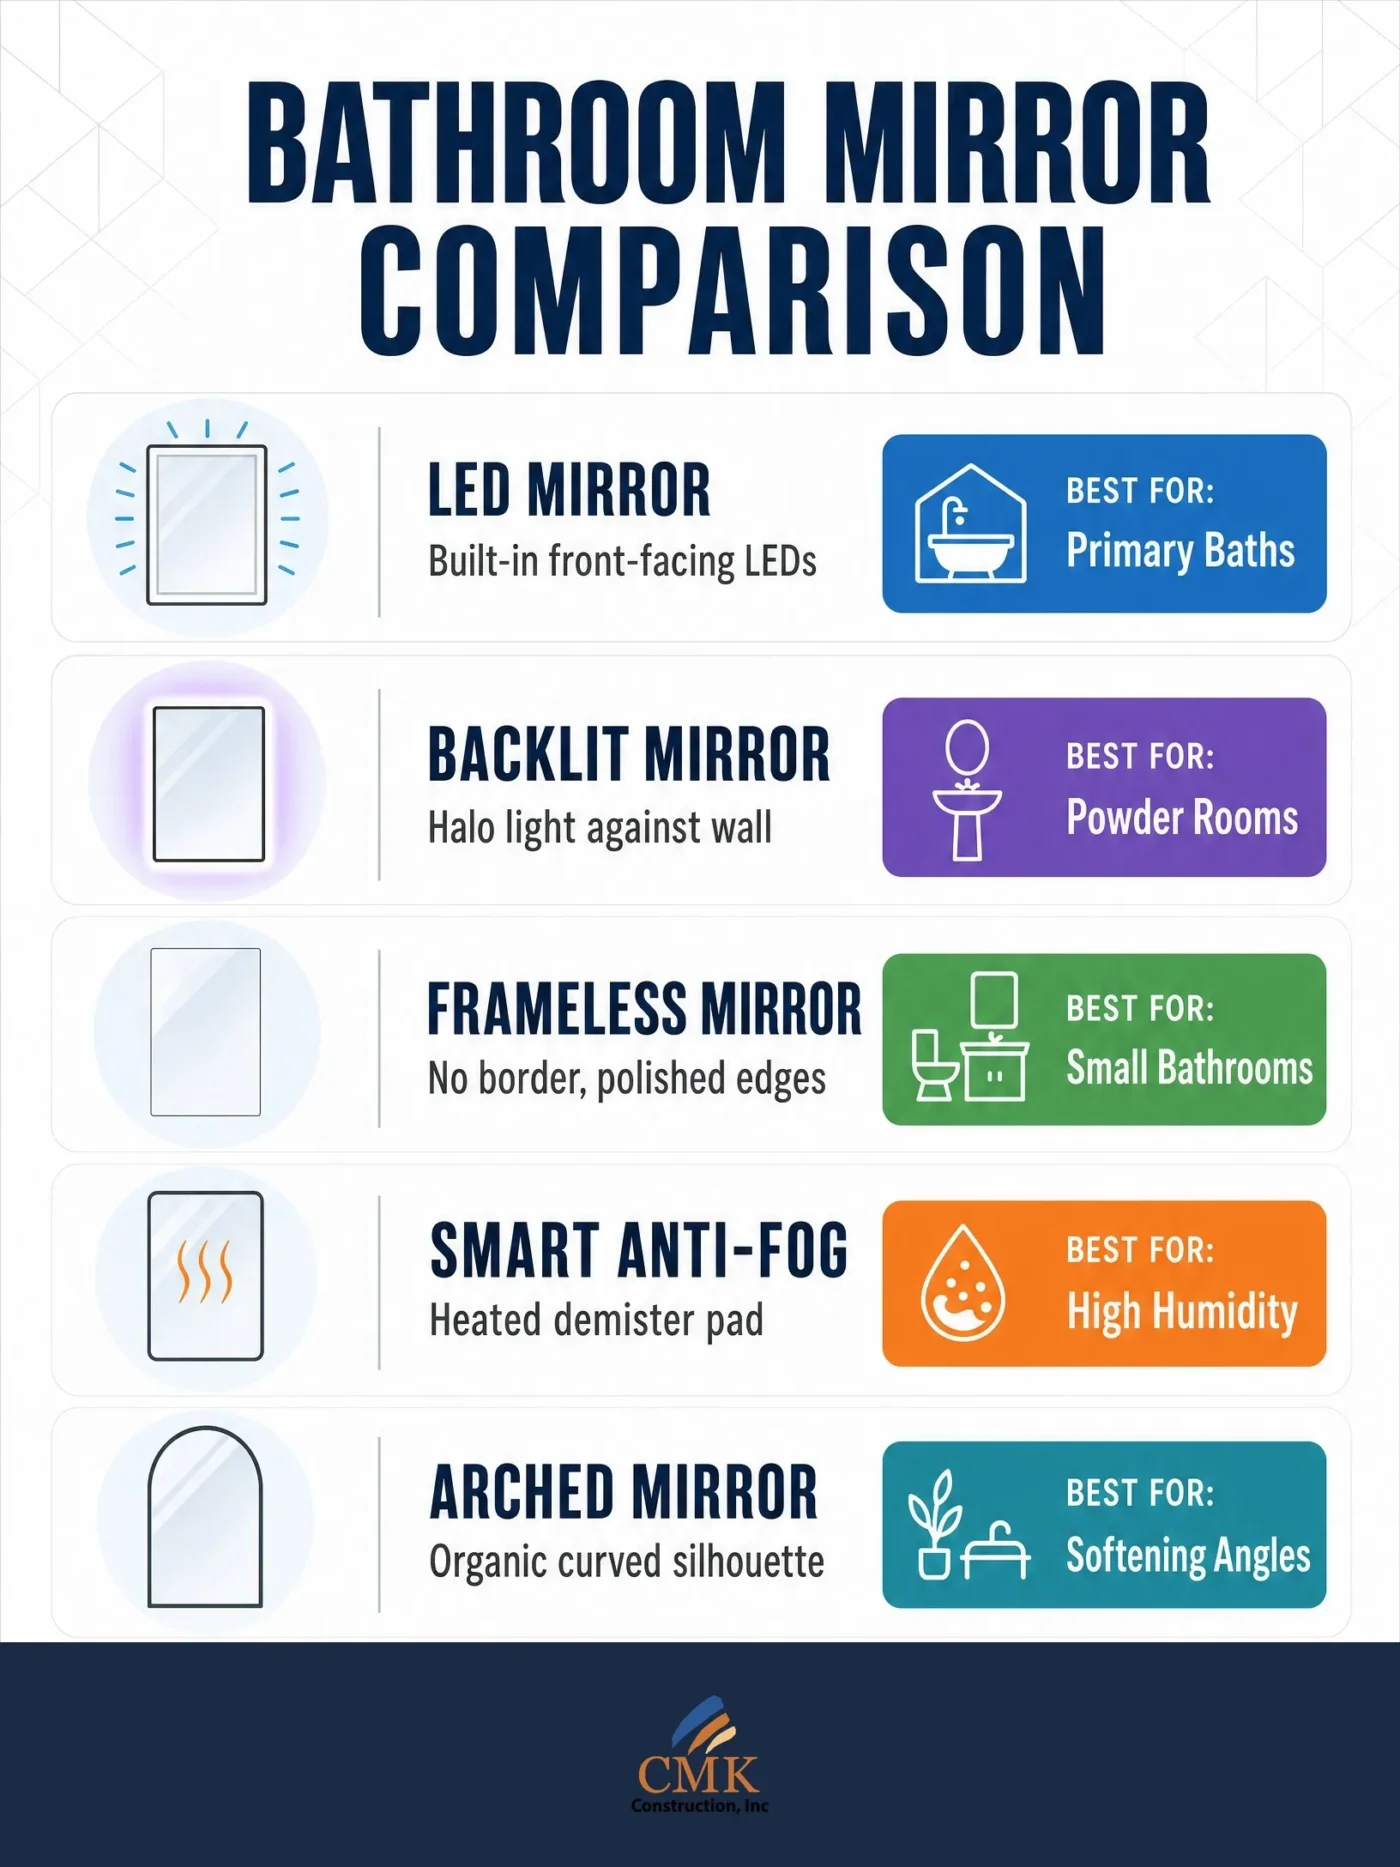
| Mirror Type | What It Includes | Best For | Electrical Needs |
|---|---|---|---|
| Hardwired LED | Front facing integrated lights, touch dimmer, junction box | Primary baths, makeup, shaving | 120V hardwired |
| Backlit | LED strips behind glass, halo effect on wall | Powder rooms, ambient lighting | 120V hardwired or plug in |
| Frameless | Polished or beveled edges, no border | Small bathrooms, minimalist look | None unless combined with LED |
| Anti Fog Smart | Heated demister pad, touch controls, dimming | High humidity primary suites | 120V hardwired, GFCI protected |
| Round or Arched | Organic silhouette with or without frame | Softening angular rooms, single vanities | None unless combined with LED |
| Mirror plus Tower | Two mirrors flanking a vertical storage cabinet | Double vanities needing storage | Optional if mirrors are LED |
Electrical and Code Requirements in Florida
Installing an LED mirror bathroom or any backlit mirror ideas is not just a design decision. It is an electrical project. Florida Building Code and the National Electrical Code have specific rules about powered fixtures near water.
Here is what you need to know. A hardwired LED mirror requires a 120V connection to a junction box. Most mirrors pull 20 to 40 watts. Add an anti fog heating pad and you are looking at 60 to 80 watts total. Our electricians verify your bathroom circuit can handle the continuous load without tripping breakers or overloading existing wiring.
All bathroom receptacles and powered fixtures must be on a GFCI protected circuit. That is non negotiable under both the NEC and Florida code. If we are adding a new junction box or altering the electrical circuit, a permit is required in Hillsborough, Pinellas, and Pasco counties. CMK pulls the permits, schedules inspections, and keeps everything documented properly.
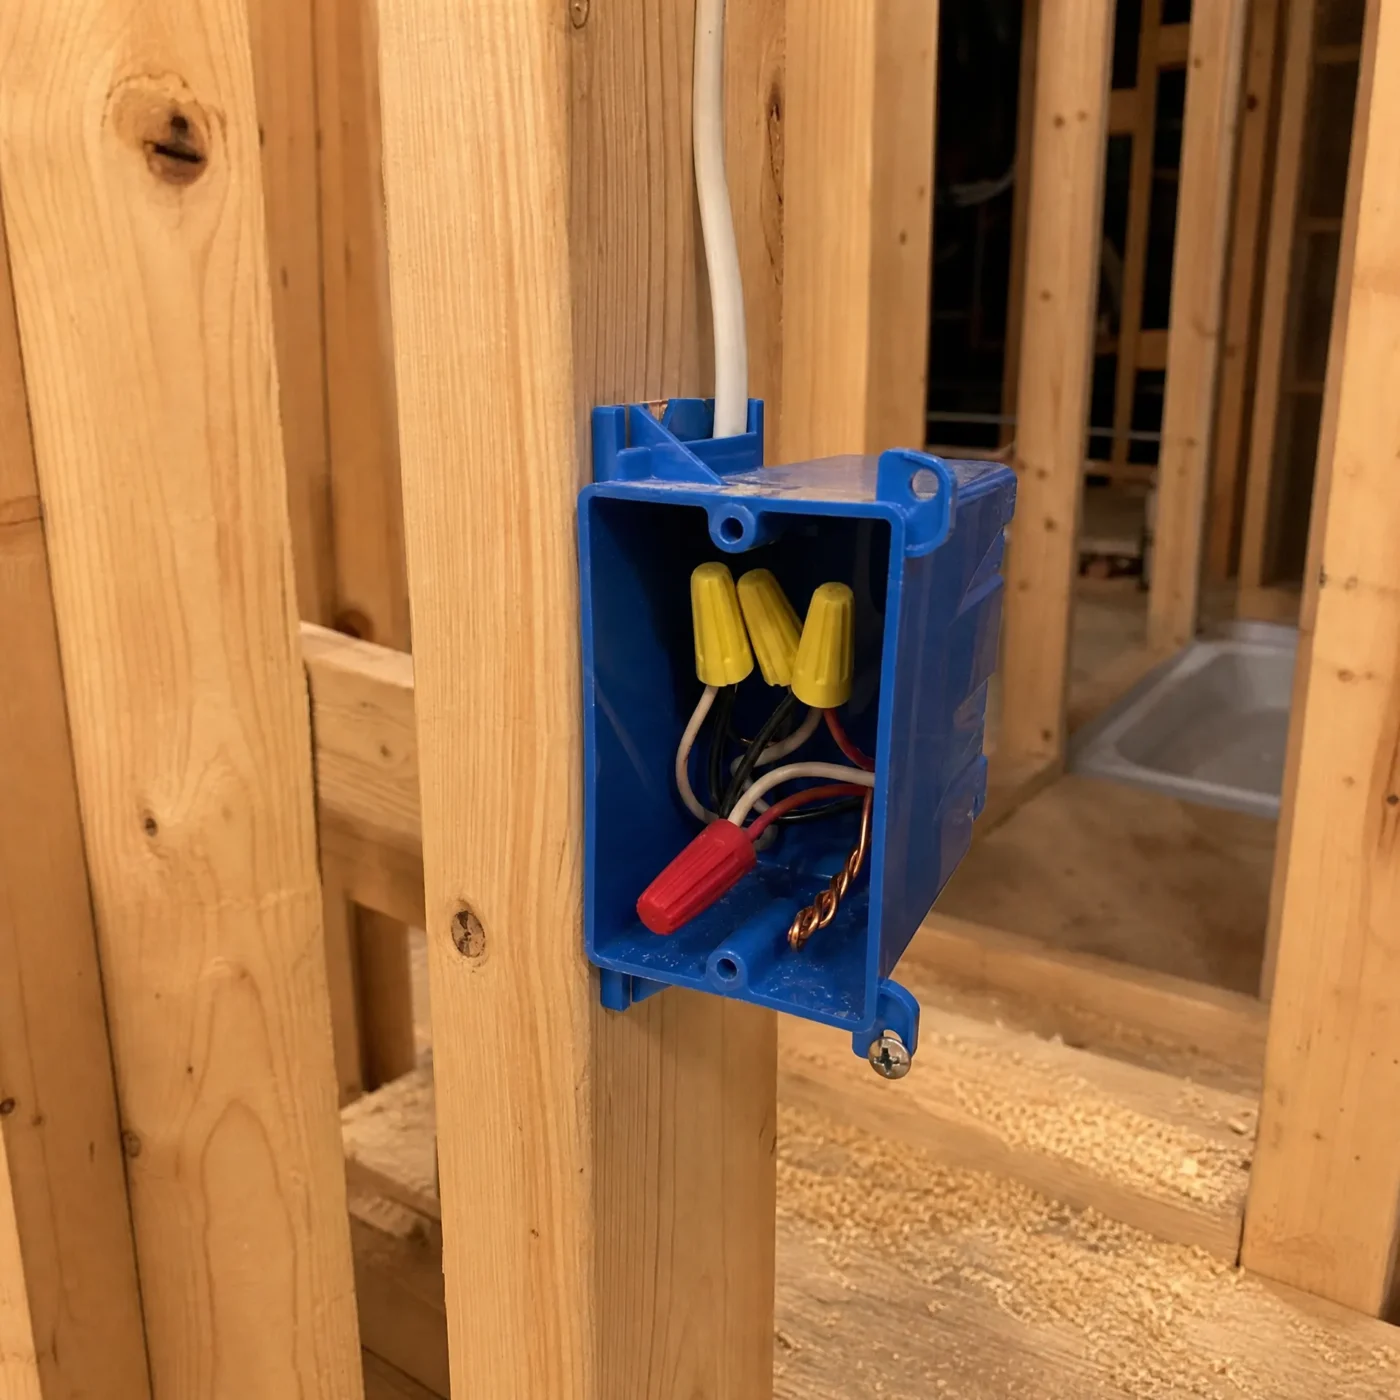
Junction box placement has to be planned during rough in. Before drywall goes up. Before tile goes on. Getting this wrong means cutting into finished walls later, which nobody wants. Our project managers coordinate the electrician’s rough in with the mirror selection so the box lands in exactly the right spot.
Wall Preparation Behind the Mirror
People focus on what the mirror looks like and forget about what is behind the wall. In Florida, that is a mistake. Moisture does not just sit on the surface. It penetrates drywall. It causes mold. It degrades the structure over time.
We use the Schluter waterproofing system in all wet areas. KERDI BOARD on walls. KERDI BAND at every seam. This creates a completely waterproof barrier that protects the framing and prevents moisture from migrating through the wall to your mirror, cabinetry, and fixtures. The system carries a lifetime warranty when installed to manufacturer specifications.
Heavy mirrors need solid backing. A large LED or smart mirror can weigh 40 to 60 pounds. Standard drywall anchors are not going to cut it. During rough in, our carpenters install solid wood blocking between the studs at the exact height where the mirror hardware will attach. This gives you a rock solid mounting point that will never pull out of the wall.
Mirror Sizing and Placement Guidelines
Getting the proportions right matters more than most people realize. A mirror that is too small looks lost on the wall. Too large and it overwhelms the space or interferes with light fixtures above.
General rule. The mirror should be 2 to 4 inches narrower than the vanity on each side. A 48 inch vanity gets a 40 to 44 inch mirror. A 60 inch vanity gets a 52 to 56 inch mirror. This creates a balanced, intentional look. For double vanities, you can span the full width with one large mirror or use two individual mirrors centered over each basin.
Height placement. Center the mirror at eye level for the primary users. Leave 4 to 6 inches between the countertop and the bottom edge of the mirror. This protects the glass from water splashes and makes cleaning the counter easier. If you are installing sconces alongside the mirror, mount them at about 60 to 66 inches from the floor for the most flattering cross illumination.
Protecting Mirrors From Florida Humidity
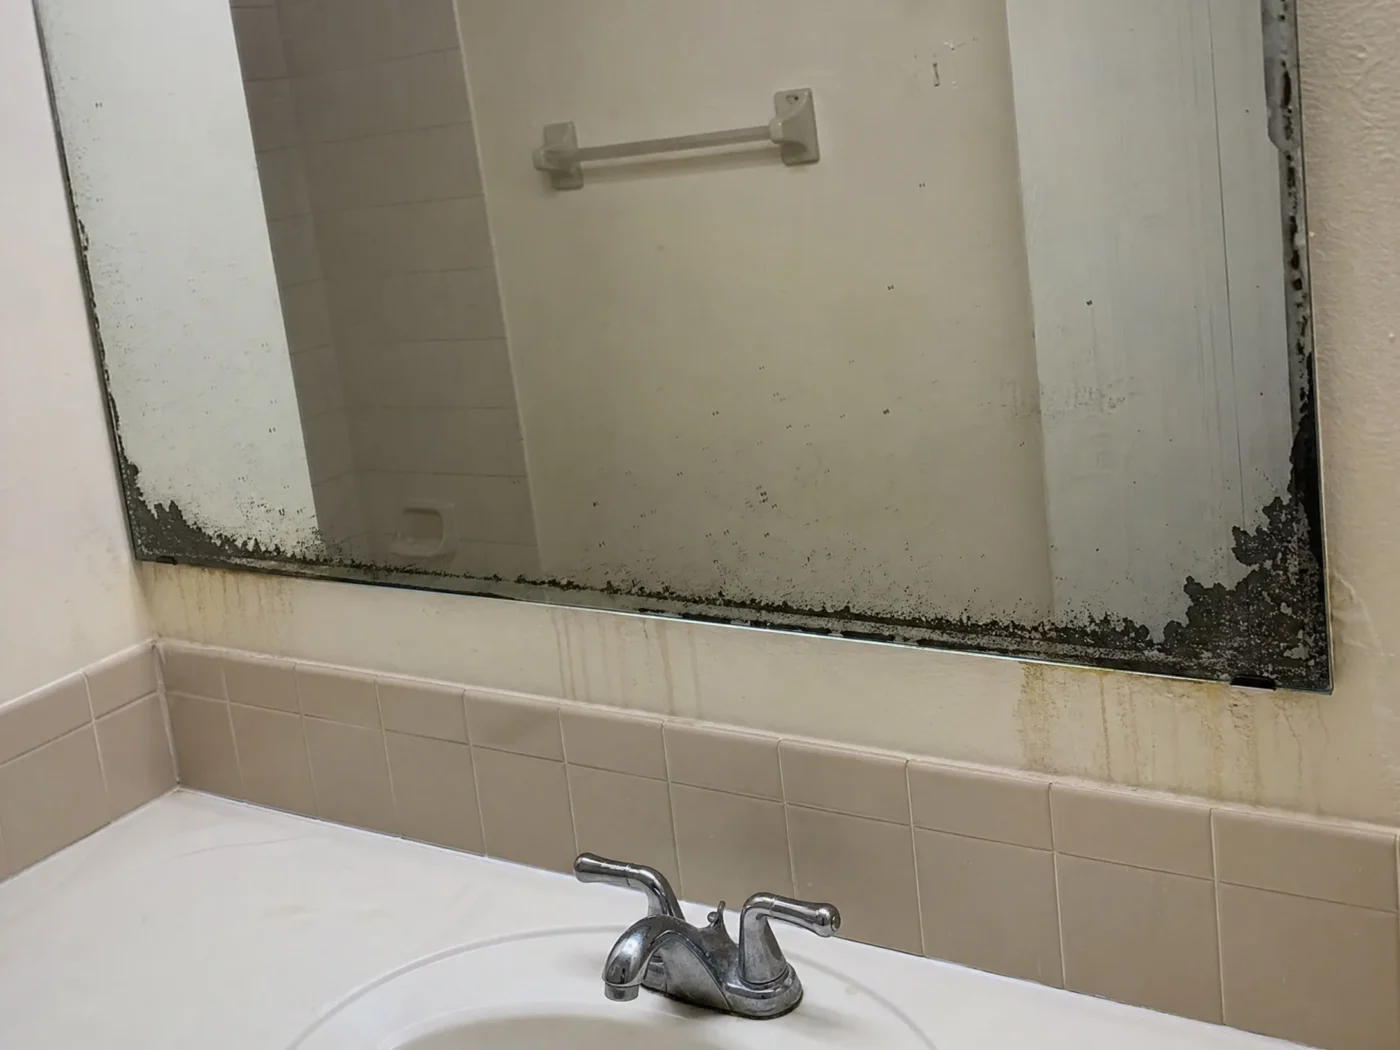
Humidity is the number one enemy of bathroom mirrors in Tampa Bay. Over time, moisture seeps behind the glass and oxidizes the silver backing. You see it as black spots creeping in from the edges. Once it starts, you cannot reverse it. You have to replace the mirror.
Prevention starts with ventilation. A quality exhaust fan is not optional. We install fans rated for the square footage of the room and recommend running them for at least 20 minutes after every shower. This clears the humid air before it has time to condense on surfaces.
When cleaning your mirrors, do not spray glass cleaner directly on the surface. The liquid pools at the bottom edge and wicks behind the glass. Spray the cleaner onto a microfiber cloth first, then wipe. Skip ammonia based products entirely. They break down the protective backing over time.
For framed mirrors, make sure the frame material handles moisture. Metal frames and sealed wood work well. Unsealed MDF will swell and deteriorate within a year in a Florida bathroom.
Matching Your Mirror to the Overall Design
A mirror does not exist in a vacuum. It has to work with the vanity, the fixtures, the tile, and the overall style of the home. At CMK Construction, our designers work with homeowners in our 4,000 square foot showrooms in Tampa and Sarasota to make sure every element connects before construction begins.
Think about metal finishes. If your faucet is matte black, a matte black framed mirror creates cohesion. If you want to mix metals (which can look great when done intentionally), repeat the second metal somewhere else in the room. A brushed gold mirror frame works if you also have brushed gold cabinet pulls or shower hinges. The repetition makes it look planned rather than random.
Consider the architectural style of your home. A stark frameless LED mirror might feel out of place in a 1920s Seminole Heights bungalow. A traditional pivot mirror with a chrome frame would feel wrong in a sleek contemporary Westchase build. Match the mirror to the home and the room feels cohesive from the moment you walk in.
Maximizing Natural Light With Mirror Placement
If your bathroom has a window, use it. Position your mirror to catch incoming sunlight and bounce it deeper into the room. This works especially well in long, narrow bathrooms or spaces with small, high placed windows that are common in Florida ranch style homes.
Even if the primary mirror must sit above the vanity away from the window, consider adding a secondary full length mirror on an opposing wall. It amplifies light distribution and makes the space feel larger without any electrical work.
In bathrooms with no natural light at all (interior powder rooms, condo bathrooms), the quality of your LED matters more. Look for mirrors with a Color Rendering Index of 90 or above. CRI measures how accurately the light shows colors. A high CRI mirror makes skin tones look natural and makeup colors appear true. A low CRI mirror makes everything look flat and washed out regardless of how bright it is.
Choosing the Right Vanity to Complement Your Mirror
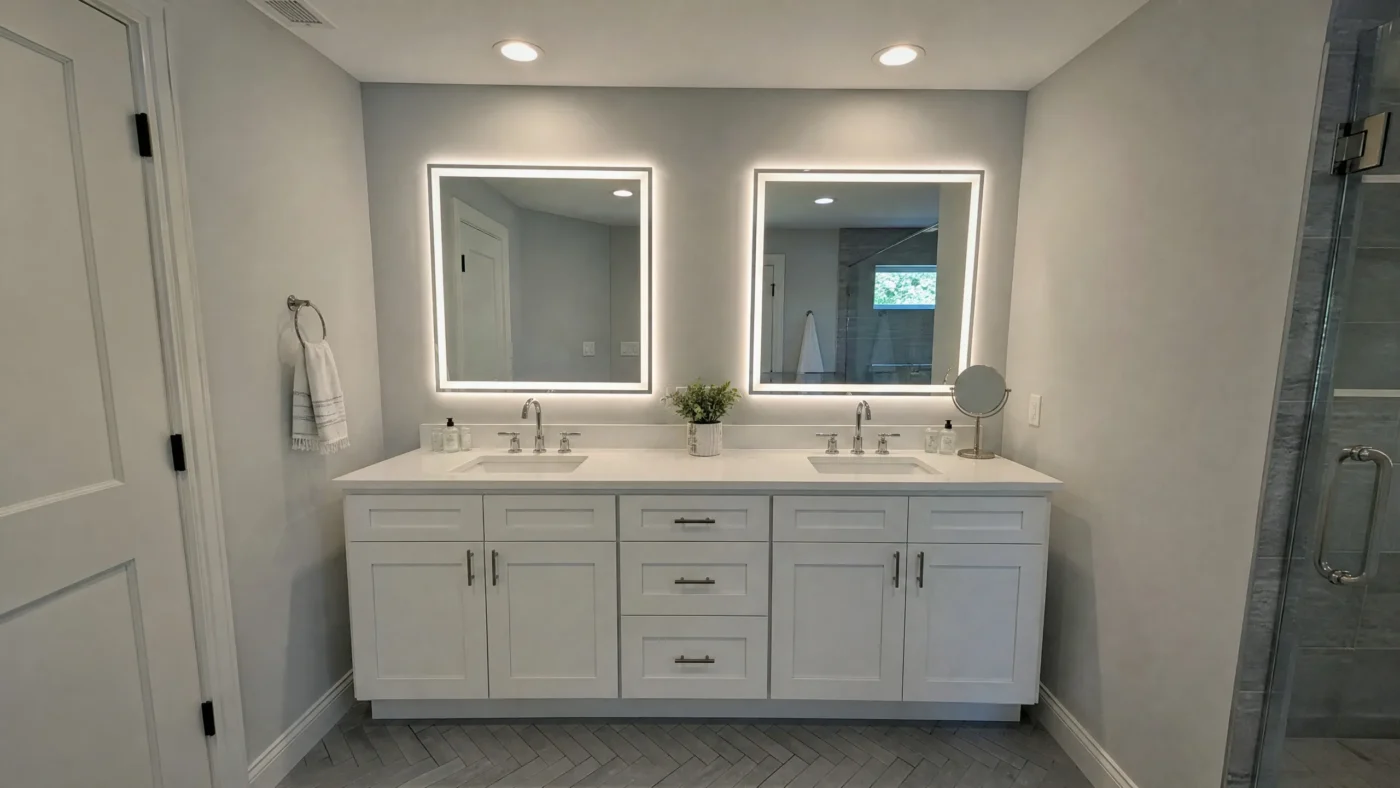
Your mirror is only as good as the vanity below it. The two have to work together proportionally and stylistically. We install cabinetry lines like Fabuwood that hold up well in high moisture environments. Custom vanities are also an option for homeowners who want something truly unique.
For countertops, we typically recommend Cambria quartz or Silestone. Both are non porous, low maintenance, and available in patterns that mimic natural marble without the sealing and etching concerns. A light colored quartz countertop reflects the glow from your LED mirror and brightens the entire vanity area. For homeowners who prefer authentic natural stone, we work with marble and quartzite as well, with proper sealing instructions provided at project closeout.
Because we frequently install premium products like Fabuwood cabinetry and Schluter waterproofing, we recommend pairing them with high quality mirror manufacturers. Brands like Electric Mirror, Robern, Fleurco, Keuco, and James Martin offer the durability and lighting quality that a premium bathroom remodel requires. We can source these directly and handle the exact electrical specifications they demand.
How CMK Handles Your Bathroom Mirror Project
We are a design build company. The people planning your project and the people building it work together through the same accountable process.
- Consultation. We look at the space, talk through what is not working, and discuss realistic budget direction. If your mirror is fogging, desilvering, or outdated, we note the electrical situation and wall condition during this visit.
- Design and proposal. We develop a plan and written proposal. Mirror style, size, lighting integration, and electrical requirements are all addressed here.
- Selections. You choose your mirror, vanity, countertop, tile, and fixtures with guidance from a CMK designer in our showroom. You see and touch everything before it is ordered.
- Permitting and construction. CMK coordinates permits, licensed trades, inspections, and project management. Your dedicated project manager oversees the electrical rough in, wall prep, waterproofing, and final mirror installation.
- Final walkthrough. We review the finished project with you and confirm the details before closeout.
For more planning ideas, see our bathroom vanity ideas from our designers, explore our custom bathroom gallery, learn about brightening a bathroom with no windows, and review our guide to bathroom materials for Florida humidity.
The Color and Texture Around Your Mirror Matters
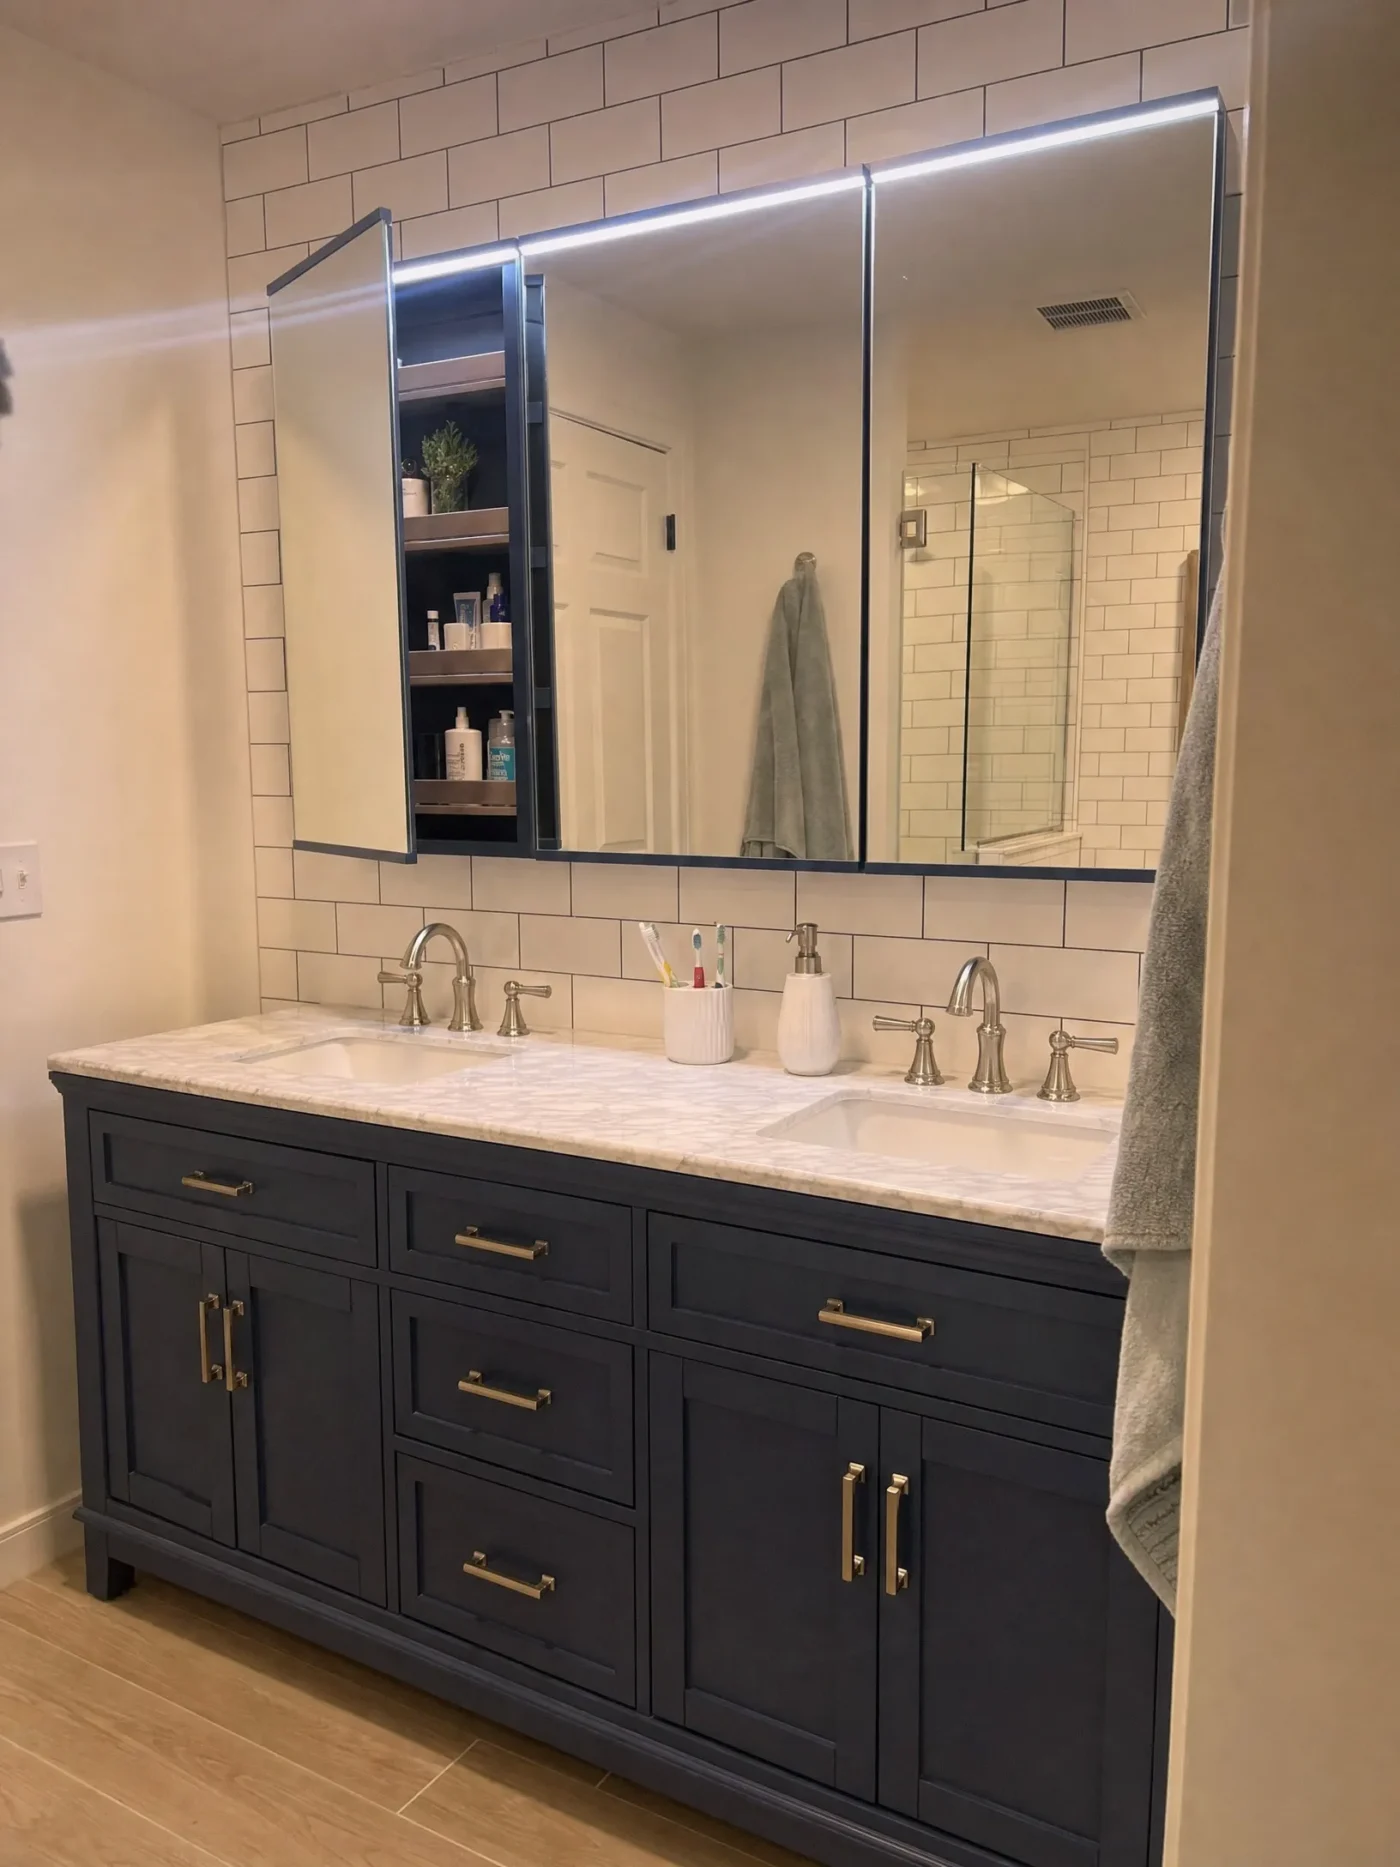
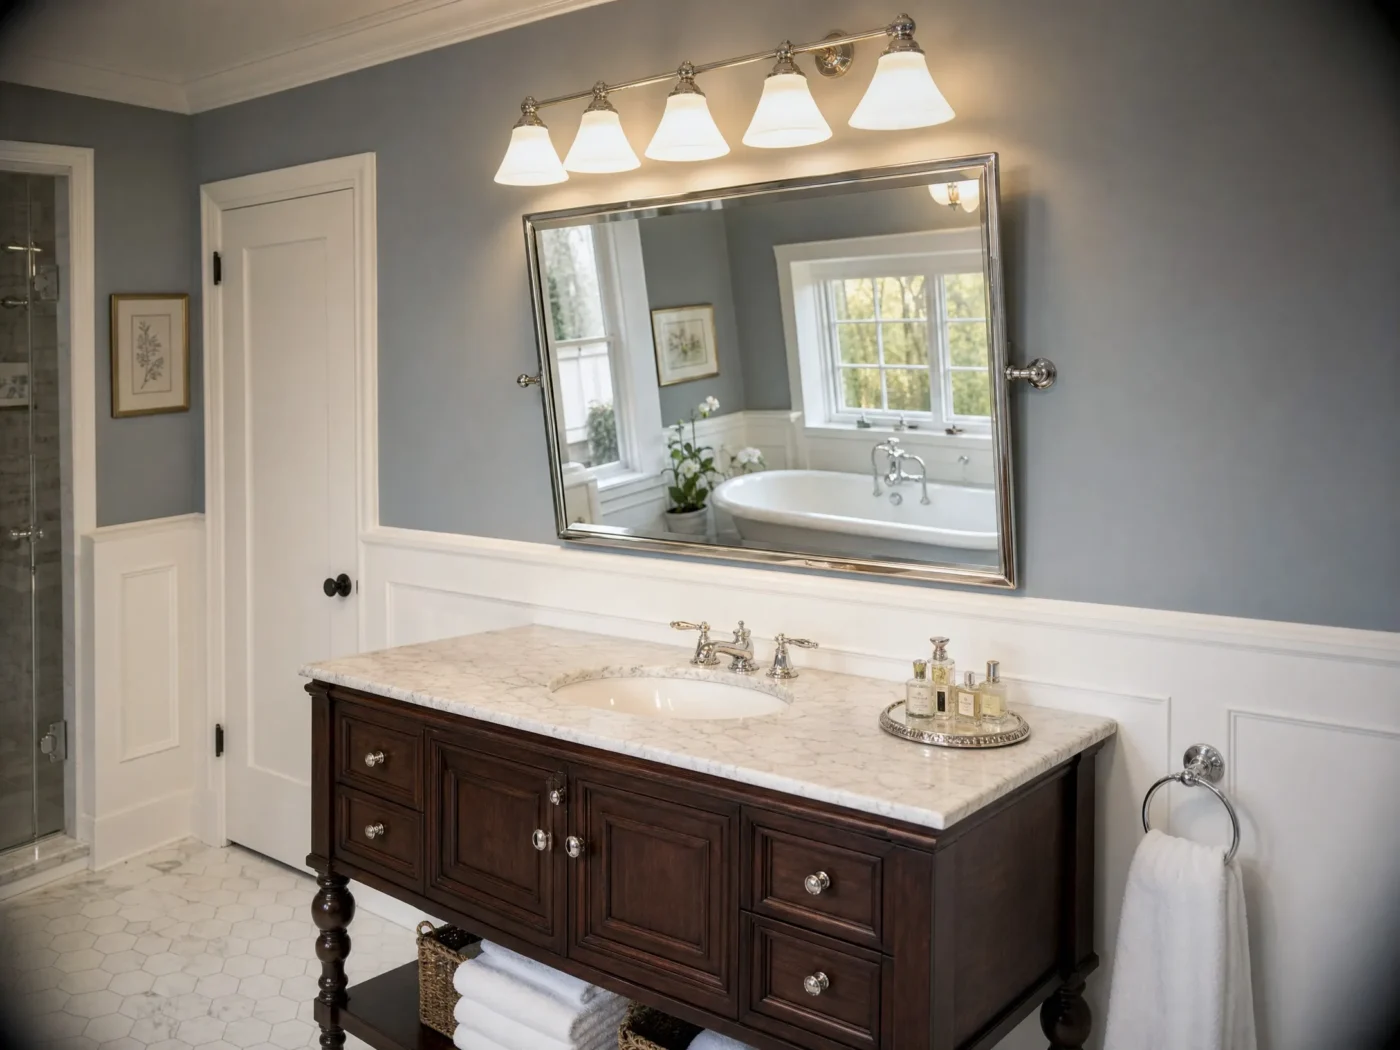
The impact of your bathroom mirror ideas depends heavily on what surrounds the mirror. A beautiful LED mirror on a poorly painted wall looks mediocre. The same mirror on a well finished wall with the right color looks like a magazine photo.
In bathrooms with limited natural light, dark matte colors on the vanity wall absorb the light your mirror is trying to reflect. Light neutrals, soft grays, and reflective finishes amplify the illumination. If you are using a backlit mirror, the wall texture becomes the star of the show. A smooth level 5 finish gives you a clean, even halo. But mounting a backlit mirror over dimensional tile or stacked stone creates this dramatic interplay of light and shadow that turns the whole vanity wall into a feature.
We frequently use MSI natural stone tile as a vanity wall accent. It pairs well with both framed and frameless mirror styles. The key is making sure the tile installation is flawless because backlighting exposes every uneven grout line and lippage issue. Our tile installers know this and adjust their technique accordingly when they know a backlit mirror is going on that wall.
For a more traditional look, framing the mirror area with classic subway tile or wainscoting adds architectural interest without overwhelming the space. In these cases, a mirror with a substantial frame in a rich wood tone or brushed nickel often feels more appropriate than a stark frameless design. The frame gives the eye something to land on and creates a sense of intentional layering.
Common Mistakes We See With Bathroom Mirrors
| Mistake | Result |
|---|---|
| Using the wrong adhesive | Mirror backing fails and desilvers |
| No exhaust fan or undersized fan | Black edges and humidity damage |
| Wrong Color Rendering Index (CRI) | Poor makeup lighting and flat colors |
| Oversized mirror for vanity | Unbalanced room and crowded fixtures |
| No wood blocking in wall | Heavy mirror can loosen and fall |
| Buying mirror after drywall | Electrical box in wrong location |
After thousands of remodels, we have seen every mirror mistake in the book. Here are the ones that come up most often.
Buying a mirror before confirming the electrical. If you want an LED or anti fog mirror, the junction box has to be in place before drywall and tile. Buying the mirror after the walls are finished means cutting into new tile or drywall. Plan the mirror during design, not after construction.
Hanging the mirror too high. We see this constantly in DIY installations. The homeowner hangs the mirror at a height that looks good from across the room but is useless for actually seeing your face up close. Center it at eye level for the people who will use it daily.
Ignoring the exhaust fan. You can buy the most expensive mirror on the market. If your exhaust fan is undersized or broken, humidity will destroy it within a few years. We always verify the exhaust fan situation during our initial consultation. If it needs upgrading, we include that in the scope.
Choosing a mirror that fights the room. A modern frameless LED mirror in a traditional craftsman bathroom looks out of place. A heavy ornate frame in a minimalist contemporary space looks equally wrong. The mirror should feel like it belongs. It should look like it was always meant to be there.
Using the wrong adhesive. Standard Liquid Nails or construction adhesive contains solvents that attack mirror backing. We have removed mirrors where the entire center was desilvered because the installer used the wrong product. Always use mirror specific mastic.
What Bathroom Mirrors Cost in Tampa Bay
Mirror pricing varies widely depending on the type, size, and features. A basic frameless mirror from a home improvement store runs $100 to $300. A quality LED mirror with a built in dimmer and anti fog technology ranges from $400 to $1,200 for the mirror alone. High end smart mirrors with color temperature controls, Bluetooth speakers, and touch interfaces can run $1,500 to $3,000.
But the mirror itself is only part of the cost. Installation matters. A simple mirror swap where the existing electrical is already in place might take an hour. A new LED mirror installation that requires running electrical, installing a junction box, and patching drywall is a half day project involving an electrician and a finish carpenter. If the mirror is part of a larger bathroom remodel (which is usually the case with our clients), the electrical and installation costs are absorbed into the overall project scope.
We do not sell mirrors separately. CMK is a full service remodeling company. But when we design your bathroom, the mirror selection and installation is included in the project. You are not paying a markup on the mirror itself. You are paying for the design expertise to choose the right one and the construction skill to install it correctly the first time.
FAQ
Do LED mirrors provide enough light on their own?
An LED mirror gives you great task lighting for your face. But it should not be the only light source in the room. We recommend pairing it with overhead ambient lighting like recessed cans or a flush mount fixture. The LED mirror handles grooming. The overhead light fills the rest of the space.
Can I add a backlit mirror without doing a full remodel?
It depends on your existing electrical. If there is already a junction box or outlet behind the mirror location, an electrician can often connect a new backlit mirror without major wall work. If no electrical exists there, the wall needs to be opened to run wiring. That is best done during a broader renovation when the walls are already exposed.
Why are the edges of my mirror turning black?
That is desilvering. Moisture gets behind the glass and oxidizes the silver coating. To prevent it, choose mirrors with sealed edges, run your exhaust fan during and after showers, and never spray glass cleaner directly on the mirror surface. Spray the cloth instead.
What size mirror works for my vanity?
Start with a mirror that is 2 to 4 inches narrower than your vanity on each side. A 48 inch vanity gets a 40 to 44 inch mirror. For double vanities, use one large mirror or two individual mirrors centered over each sink. Your CMK designer will help determine ideal proportions during the selection phase.
Are anti fog mirrors worth the cost?
In Tampa Bay, yes. The heating pad prevents condensation from forming after a hot shower. The electrical draw is minimal (20 to 40 watts) and the convenience of stepping out to a clear mirror every morning makes it one of the most appreciated upgrades in a primary bath renovation.